Permission Sets Editor
- Former user (Deleted)
- Thomas Sherman (Deactivated)
Permission Sets control access to Project Workspaces. A workspace is associated with a single project and gives you access to view team members, track issues, share documents, and view invoices. Workspaces are typically accessed by project managers, team members, and clients. Each of these groups will most likely need a unique set of permissions.
Once you define a permission set for each group, apply it to new projects through the engagement type editor. Permissions can then be further tweaked on a project-by-project basis through the project editor.
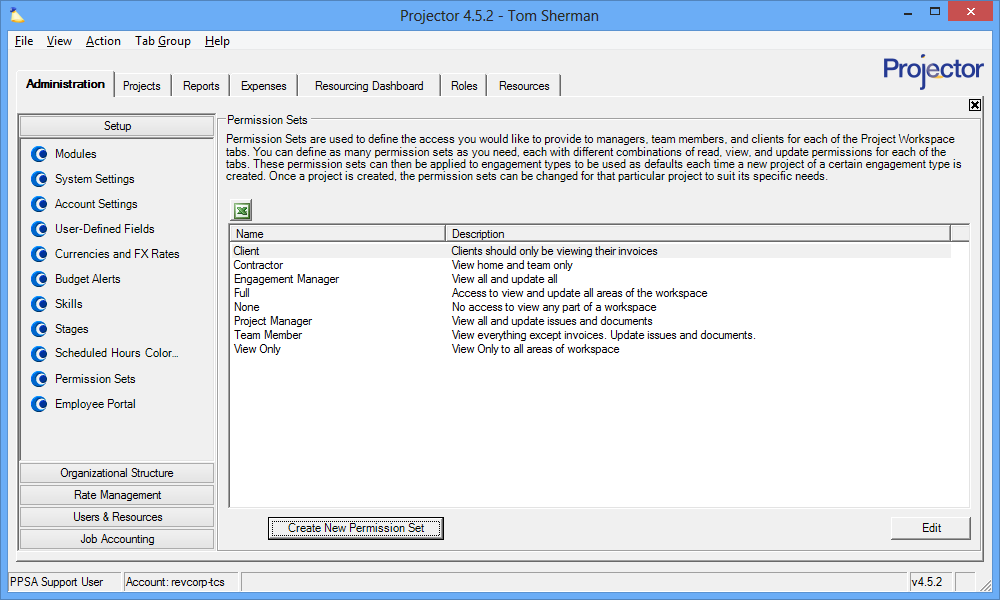
This form is reached by choosing View | Administration | Setup | Permission sets.
Permissions and Settings
To make changes on this tab you must have the global permission System Settings set to Update.
Each new project's permission sets are determined by its engagement type. Edit your engagement types to change the default permissions on new projects. For existing projects you will want to open the project and change the permission sets manually.
Manage Permission Sets
The permission sets browser shows each permissions set defined in your installation.
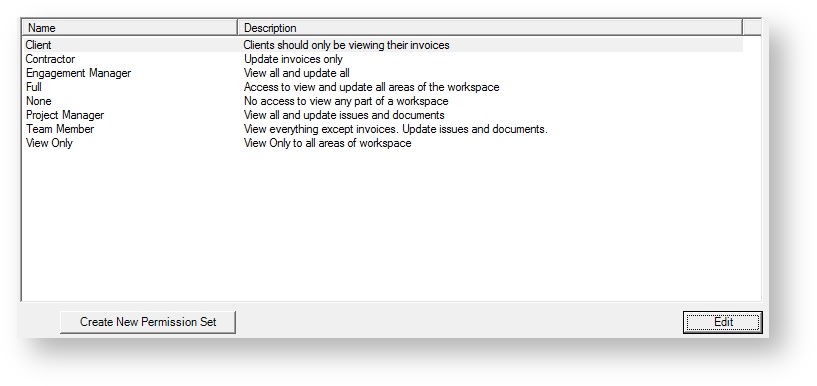
Add Permission Set
Click the Create New Permission Set button.
Edit Permission Set
Double click any permission set.
Delete Permission Set
Right click on any existing set and choose Delete Permission Set. If the permission set is currently applied to any engagement types or projects then you won't be able to delete it. Go in and remove everywhere in the system before deleting.
Permission Sets Editor
The permission set editor is relatively simple. See the table below for an explanation of each setting. Before you start creating your permission sets, make sure that you understand the access areas like "Home" and the workspace groups like "Clients." See further down to read about them.
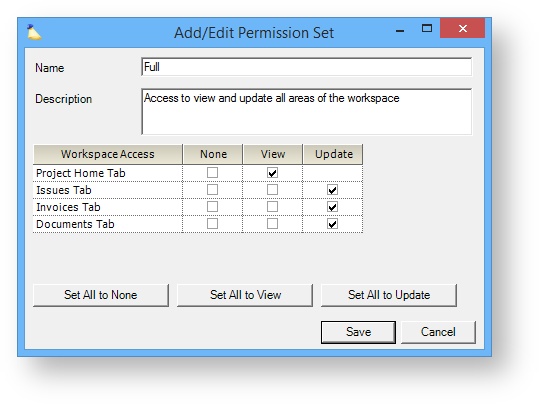
| Setting | Description |
|---|---|
| Name | Provide an identifying name. Your users will pick a permission set based on this name. |
| Description | Describe the permission set. Descriptions are only shown on this tab. |
| Workspace Access | There are five separate areas that you can give access to. Visit the individual areas for a full description of what they are for or see below for a brief overview.
|
| Set All to None | Quickly change all permissions to the none column |
| Set All to View | Quickly change all permissions to the view column |
| Set All to Update | Quickly change all permissions to the update/view column |
Workspace User Groups
Permission sets are applied to groups of users, not individuals. Projector provides seven predetermined groups. Each group is explained in the table below.
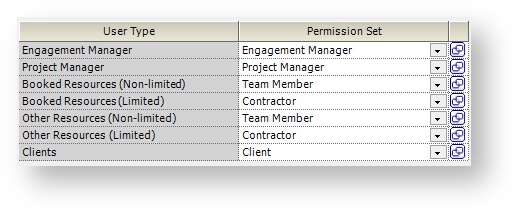
User Type | Description |
|---|---|
Engagement Manager | Whoever is defined as the Engagement Manager on the Engagement Info Tab |
Project Manager | Includes two groups of people.
|
Booked Resources (non-limited) | Resources with booked hours except for those who are limited |
Booked Resources (limited) | Resources with booked hours who have Limit access to projects in Employee Portal set in the User Editor. The limited flag is often given to contractors who generally have less access to the system than internal employees. |
Other Resources (non-limited) | Any other user in your installation except for those who are limited |
Other Resources (limited) | A limited user is anyone who has Limit access to projects in Employee Portal set in the User Editor. The limited flag is often given to contractors who generally have less access to the system than internal employees. |
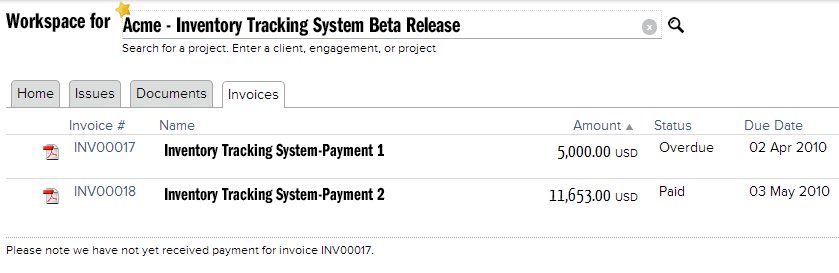
Clients | Any user who has the Client flag ticked in the User Editor. These users are often given access to Invoices to see current and past billing history. Sometimes they are given access to Issues or Documents areas so that they can track the progress of the team. |
In Practice
This section shows you the actual places in Projector where permission sets come into play. There are four areas of interest - Project Home, Issues, Invoices, and Documents.
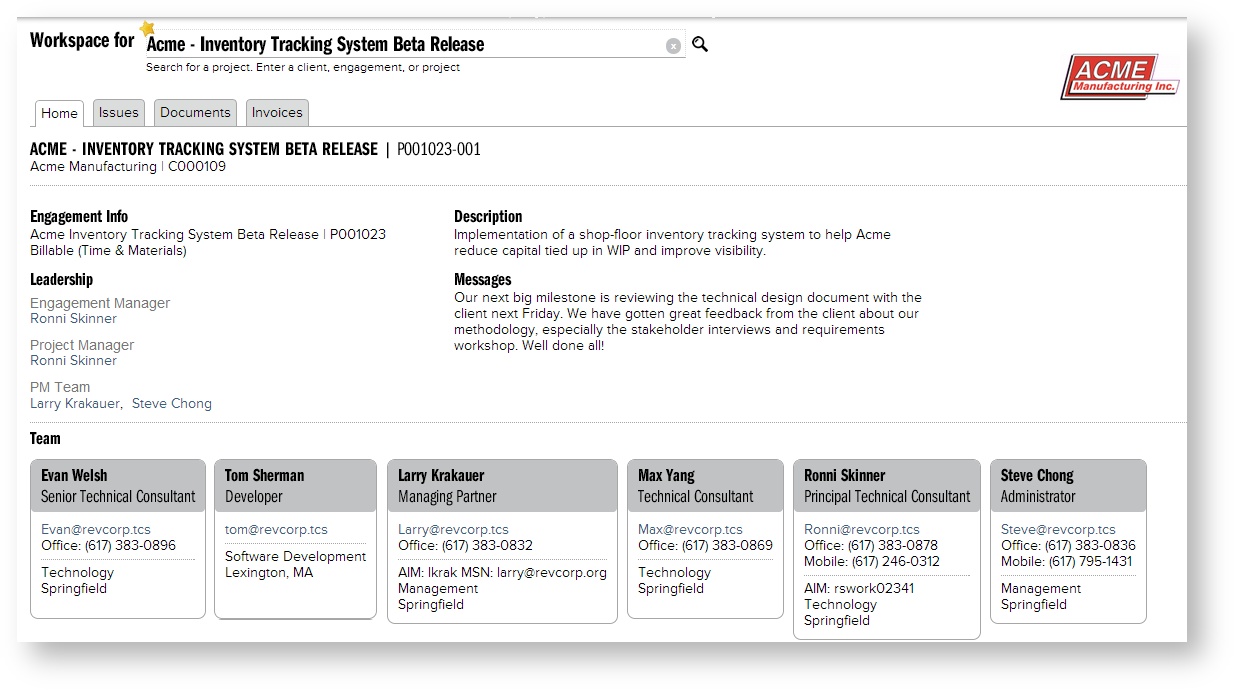
Project Home
On the Home tab of project workspaces there are two areas. The upper area displays general project information like the name, code, and description. The lower area shows each team member along with their contact information.
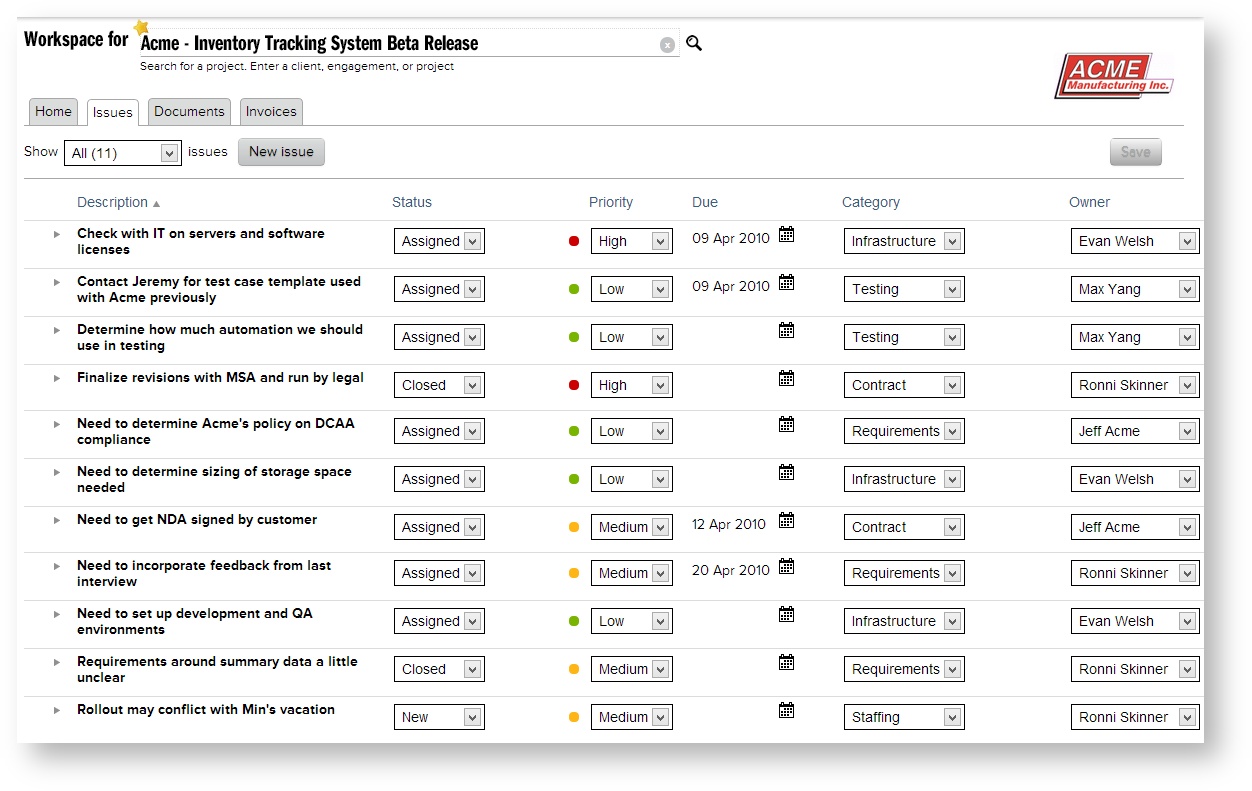
Issues
The Issues Tab is used to assign and track project-level tickets as well as to coordinate issues with your client. Each issue is entered with a category and a priority, and is assigned an owner. Documents can be attached to the issue, and users can reference issue history.
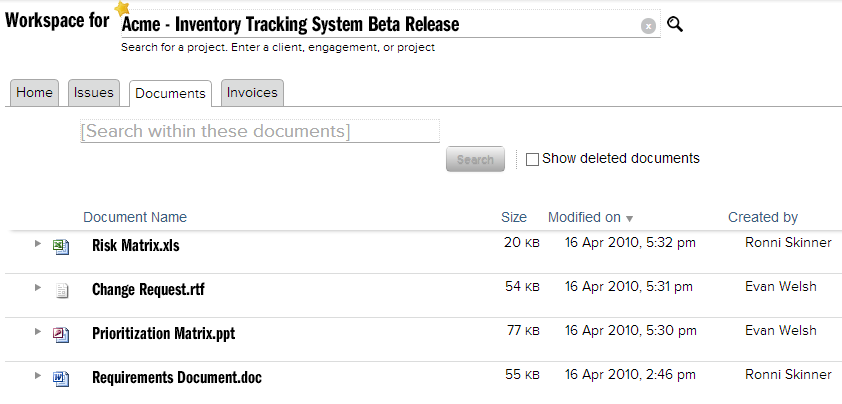
Documents
The documents tab allows you to track project documents, share files among team members, and keeps a history of files as they are updated.
Invoices
The invoices area is a portal for your clients to view their invoices, invoice history, and project messages.