Install Management Portal for macOS
- Thomas Sherman (Deactivated)
- Stephen Shenefield (Deactivated)
- Ronni Skerker (Unlicensed)
The Management Portal is a desktop application used for administration purposes in Projector. It is typically used by admins, finance managers, project managers, and resource schedulers.
Management Portal is supported by macOS versions 10.14 (Mojave), 10.15 (Catalina), 11 (Big Sur), and 12 (Monterey) including on Apple Silicon M1 hardware. Older versions back to 10.12 (Sierra) may work, but have not been tested.
There are a few limitations to using Management Portal on macOS. Please see Can I use Projector on my Mac?
If you are using Microsoft Windows and not macOS, you want this help page instead - Install Management Portal for Windows
This page is about a new installation. Periodic updates are covered here: macOS - Management Portal updates
New installation (10-15 minutes)
NOTE: The process below takes 10-15 minutes. Please make sure you do this when you won't have to interrupt the flow. Do not cancel the installation steps beyond step 6 (or close the lid of your laptop, for that matter), as it tends to break the installation process.
Follow these steps to install Projector.
- You can download Projector for macOS here OR
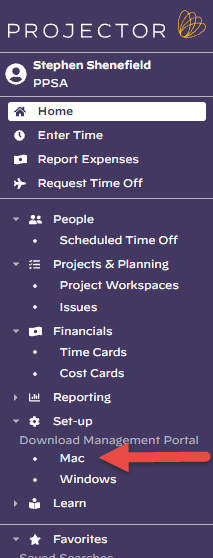
- Sign into Projector Web. In the left-hand topics menu, look for the Set-up category, and choose for Mac. If you do not have a download link here then you do not have permission to install or use Management Portal. Speak with your administrator.
- The file Install_Projector.dmg is saved to your computer. Double-click the downloaded file.
- Drag the Projector app icon into the Applications folder.
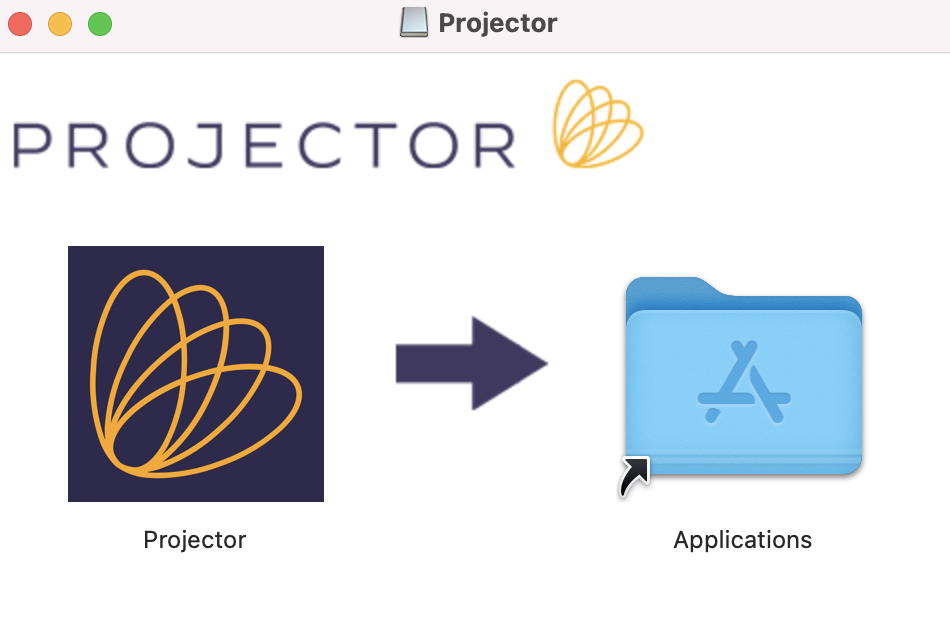
Go to your Applications folder. Open Projector from the Applications folder.
It is very important that you wait patiently during the following steps (8-15 minutes). Do not try to run Projector again until the installation has completed. Running prematurely or clicking cancel will break the installation.
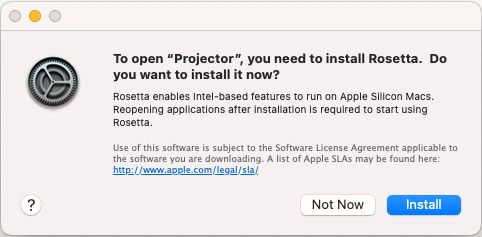
- Apple Silicon Macs only: You may be asked to installed Apple's Rosetta software. This is required for using Projector.
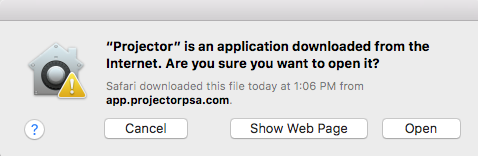
- A warning message will appear. Click Open. The file will be verified and opened.
 Big Sur / Monterey version:
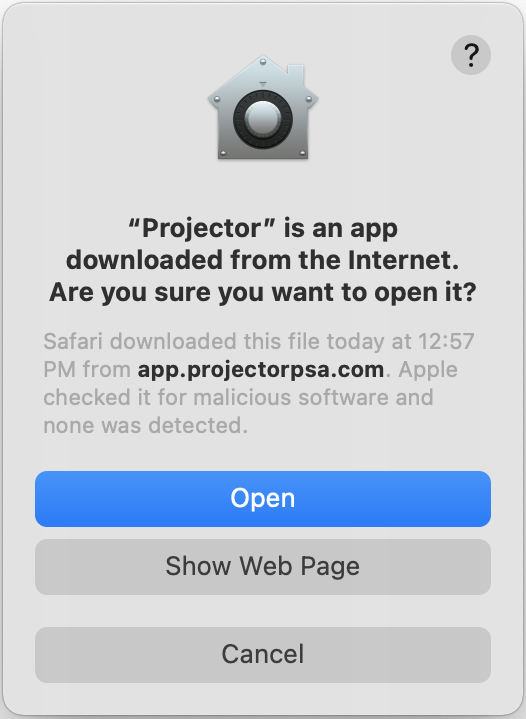
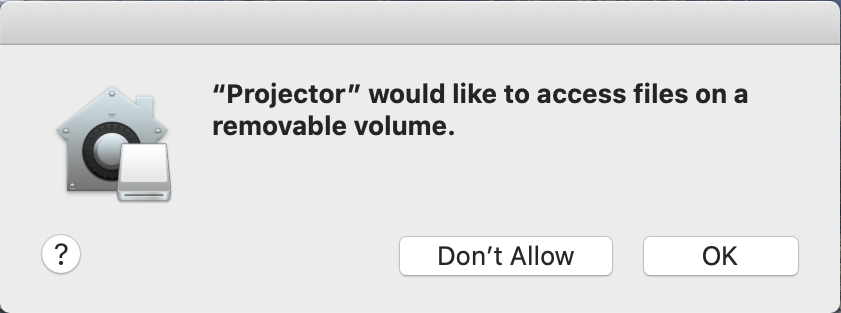
- A notification about file access may appear. Click OK.
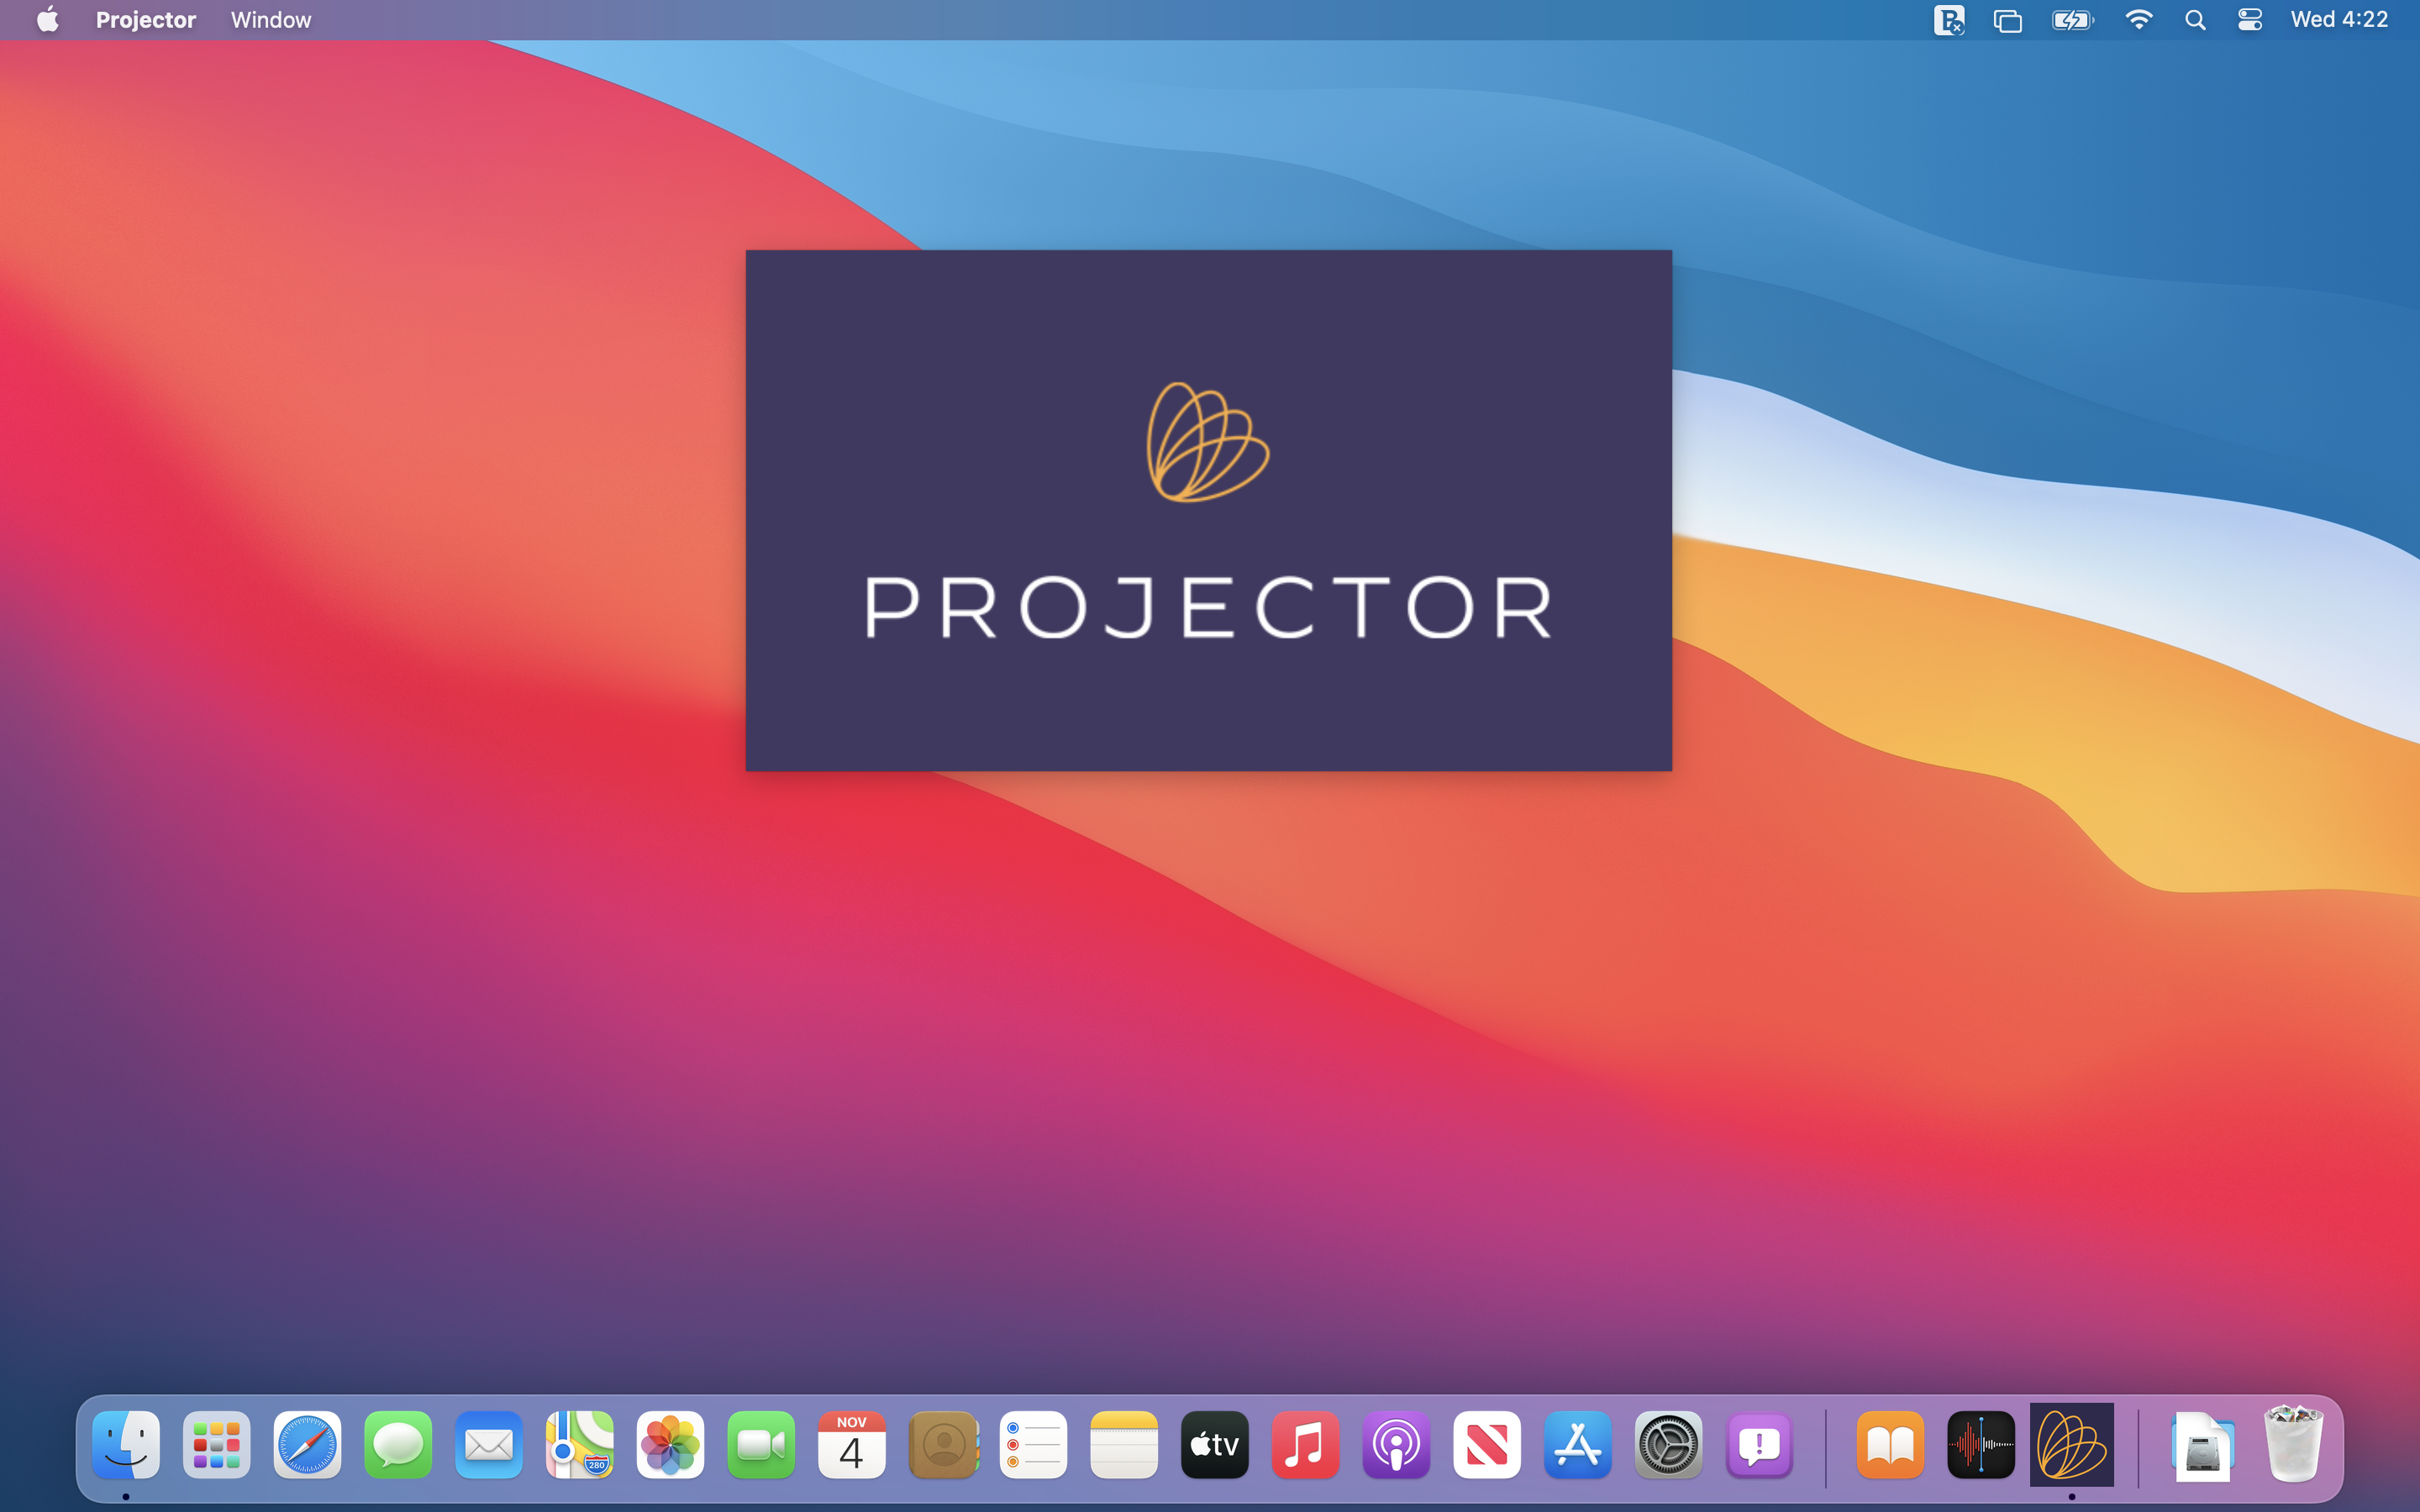
- Unless you are actively using other applications you'll see our splash screen.
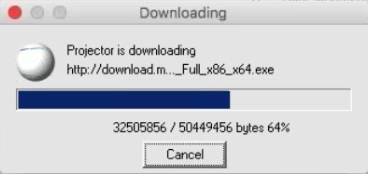
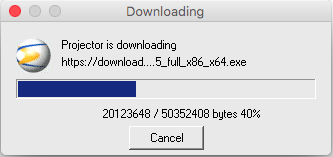
- Some files supporting Microsoft's .NET technology will be downloaded. Please wait.
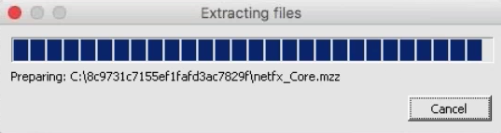
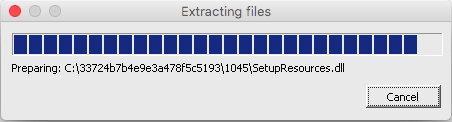
- Files will be extracted. Keep waiting! (1 minute)
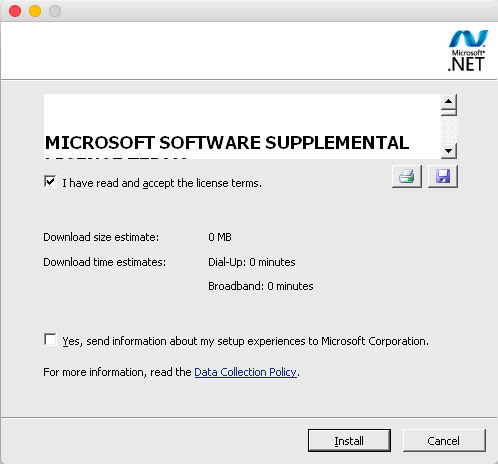
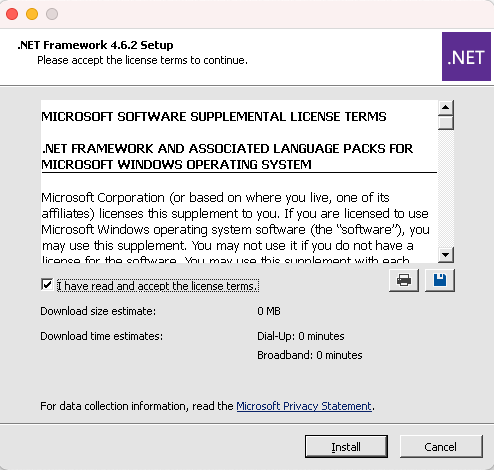
- Tick the checkbox I have read and accept the license terms. Then click Install.
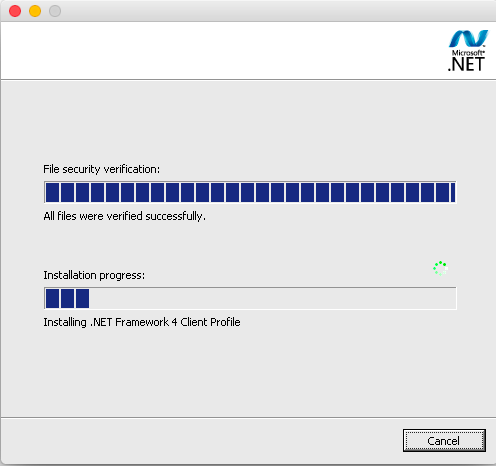
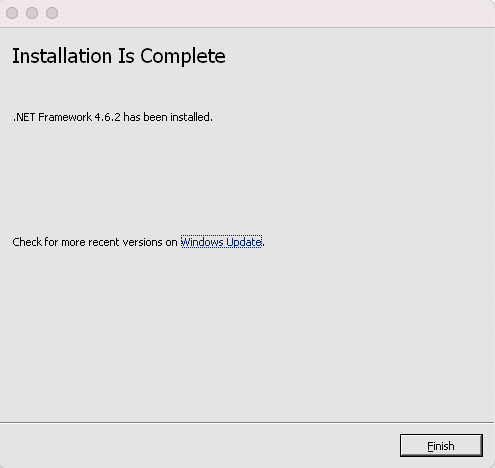
- Wait while the .NET 4.0 framework is installed. (3-4 minutes)
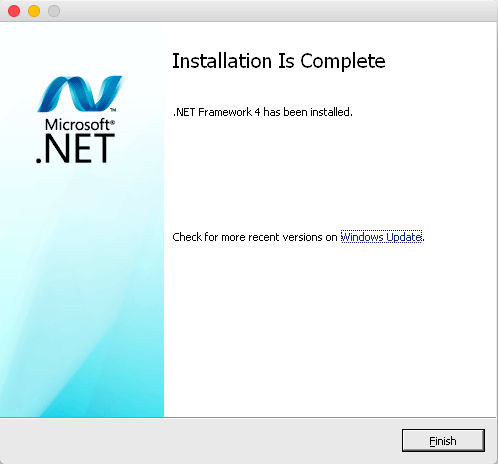
- Click Finish. Do not try to open Projector yet.
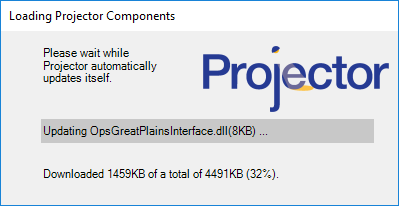
- Some more files will download. (1 minute)
- Files will be extracted. Keep waiting! (1 minute)
- Click Continue on this warning dialog. You do not need to worry about these conditions.

- Tick the checkbox I have read and accept the license terms. Then click Install.
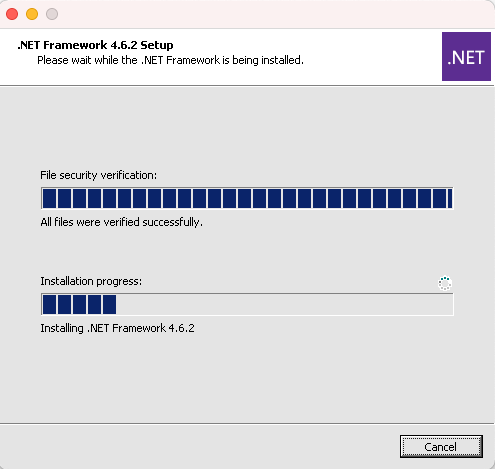
- Wait while the .NET 4.6.2 framework update is installed. (about 5-6 minutes)
- Click Finish. Do not try and open Projector yet.
- Another download dialog automatically opens. (1-2 minutes)
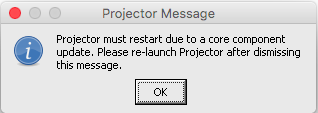
- You will be asked to re-start Projector. Click OK, and then re-start Projector from your launch pad or applications folder.
- Finally, you will be prompted to log into Projector.

Subsequent Launch
You may start Projector from:
- Applications folder
- Launchpad
- Recent Items
Do not try to run Projector from your Topics menu in Projector Web now that it is installed. Otherwise it will go through the whole install process again.
Also, do not run Projector from the Install_Projector.dmg disc image. (It is best to "eject" the Projector disc image after you've finished the installation.)
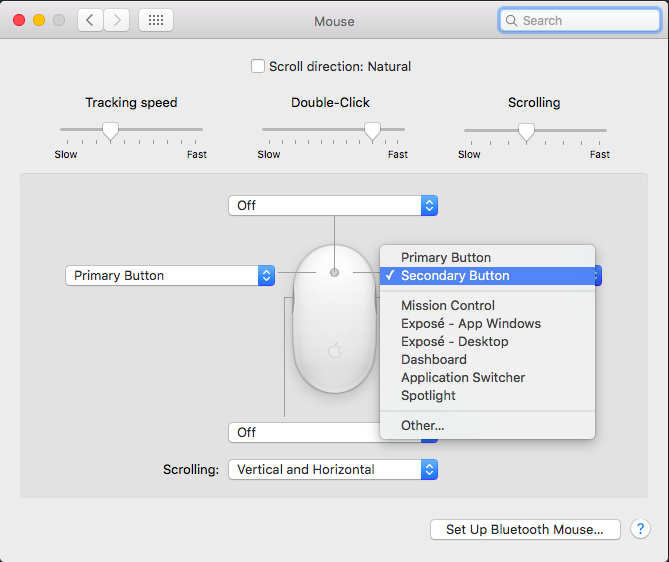
Right Mouse Button
Management Portal makes extensive use of right mouse button functionality. If you are using your stock Mac mouse, you may need to configure it to emulate right click functionality. If you are using a third party mouse, you can likely skip this step.
- Go to System Preferences
- Find the Mouse control panel
- Set the right button to Secondary Button
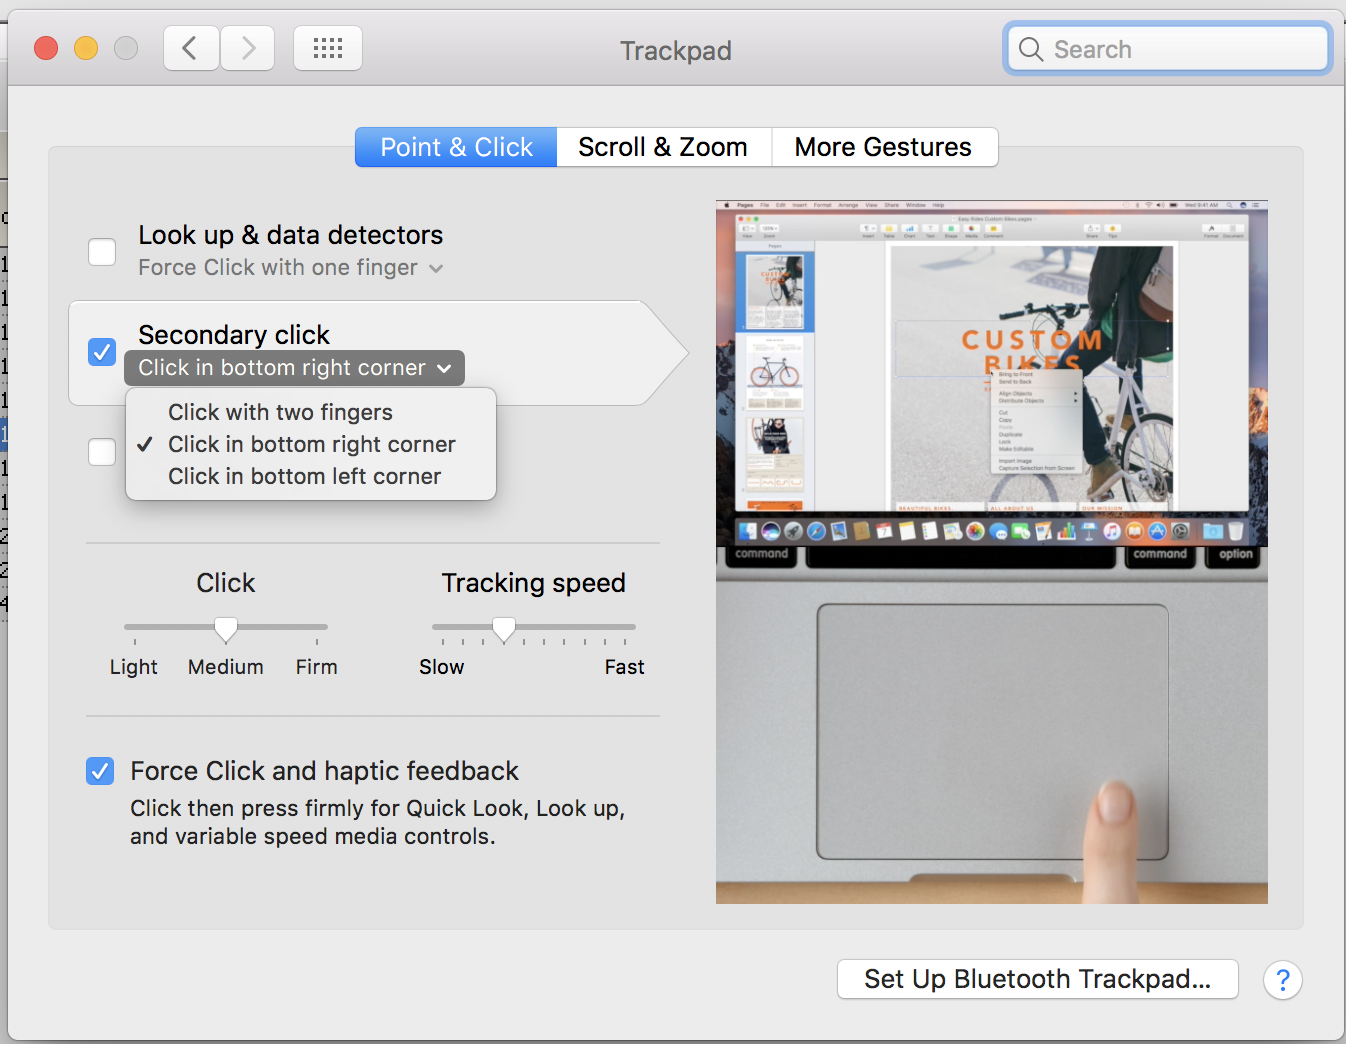
If you are using a Mac laptop computer, you may similarly need to configure the trackpad to have right-click functionality as shown in screenshot below. You can also find this in the system preferences.
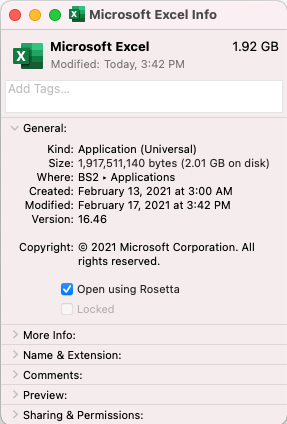
Microsoft Excel Macros (Apple M1 hardware)
At the launch of the Apple Silicon M1 hardware (late 2020) some programs recently adapted to run natively on Apple Silicon don't perform well – for instance using macros seems to crash Excel. The solution is to set Excel to run in a legacy mode, using Rosetta, Apple's software that emulates the Intel processors.
To turn on Rosetta for Excel, first quit Excel. Then go to the Applications folder, right-click (or control-click) on Excel, and pick Get Info. Check off the box that says "Open using Rosetta." Important: Restart the Mac. After the re-start, opening a spreadsheet will happen with Excel running via Rosetta.
Function Keys
The Projector Management Portal offers some shortcuts via the function keys. On a Mac, the function keys are labelled F1, F2, etc. but by default control things like play/pause, brightness, and speaker volume. Hold down the Fn key while pushing F1, F2, etc. to get Projector's function key responses.
Cutting and Pasting
The standard cut, copy, paste, etc. on a Mac is command-x, command-c, command-v, etc. "Command" is the little four-leaf-clover button on the Mac, next to the space bar. However, these command functions do not work for the Management Portal on the Mac. Instead, the user needs to use control-x, control-c, control-v, etc. for such operations.
Debug Install
In the event your installation does not succeed. Please follow these instructions.
- Uninstall Projector by following the instructions here - Uninstall Management Portal on macOS
- Install the .dmg file
In Terminal, run
CX_LOG=~/Desktop/projector.log CX_DEBUGMSG=tid open /Applications/Projector.app
- Projector will start with the logger running.
- This script will leave a text file called "projector.log" on the desktop.
- Send the log file to Support.