Project - Schedule
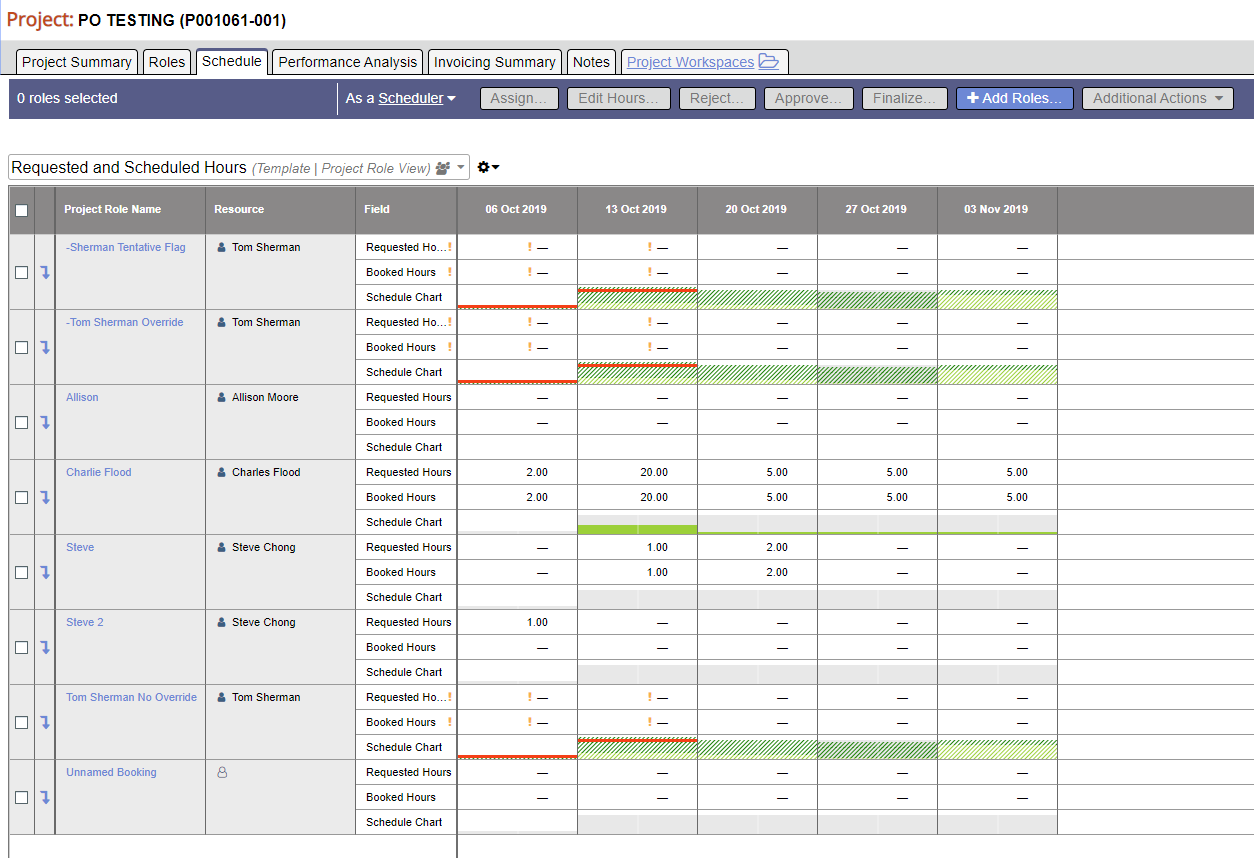
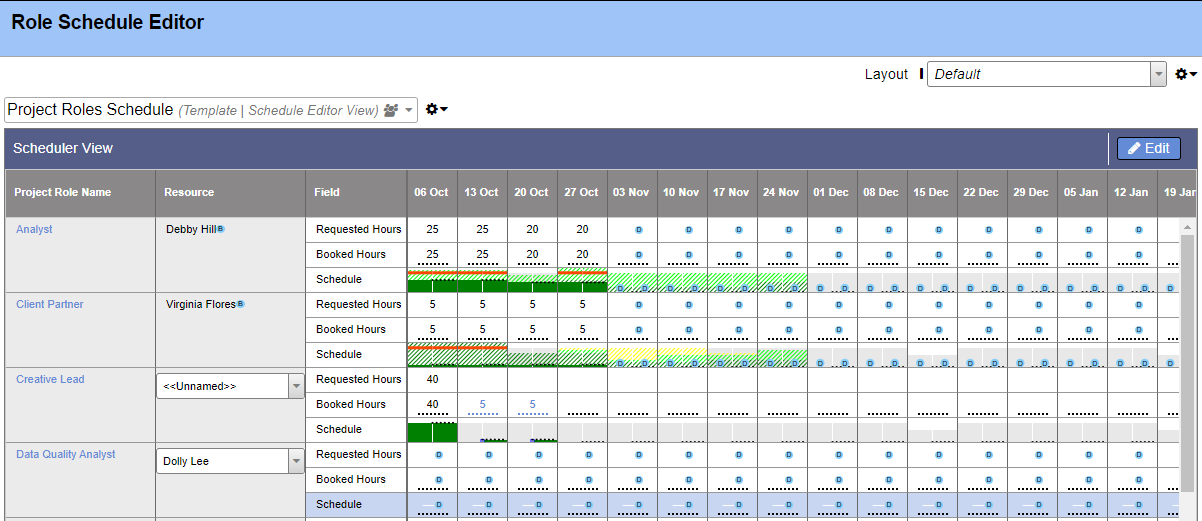
This tab shows one row for every role on your project. Review requested hours, booked hours, and resource schedules. Also review financials by role. For example, billing adjusted revenue, rate losses, margin, and cumulative margin.
To reach this section go to Topics Projects and search for a project. Open a project and choose Schedule.
Permissions and Settings
You can view this tab if you can view a project. The following users are granted view access to projects.
- You are the engagement manager
- You are the project manager
- You can Act as PM on the project
- You have the cost center permission View Projects for the project's cost center.
The following people can create new roles and delete existing roles
- Engagement and Project Managers with both
- the stage permission Project Managers can Create Roles AND
- the stage permission Request Resources or Schedule Resources
- Users with all three of the following:
- stage permission Users with Permissions can Request Resources
- the cost center permission Request or Schedule Engagements for the engagement's cost center
- the cost center permission Request or Schedule Resources for at least one cost center
- Users with all three of the following:
- stage permission Users with Permissions can Schedule Resources
- the cost center permission Request or Schedule Engagements for the engagement's cost center
- the cost center permission Request or Schedule Resources for at least one cost center
- Roles may be implicitly created if the project is open for time entry from all resources
- Roles may be implicitly created if time is transferred to the project and a destination role does not already exist
The following people can edit role names, start dates, and end dates
- Anyone with the cost center permission Maintain Projects and Engagements
- Engagement Managers
- Project Managers
When creating roles, you have the option to base them on a Role Type.
You can customize the data displayed on this tab and save it to your own layout. To share that layout with other users you need the global permission Maintain Public Reports and Saved Searches.
Request vs Schedule
In the blue control bar, you'll find a dropdown box where you can switch between Request and Schedule modes.
Manage Roles
The following management options are available here:
Create
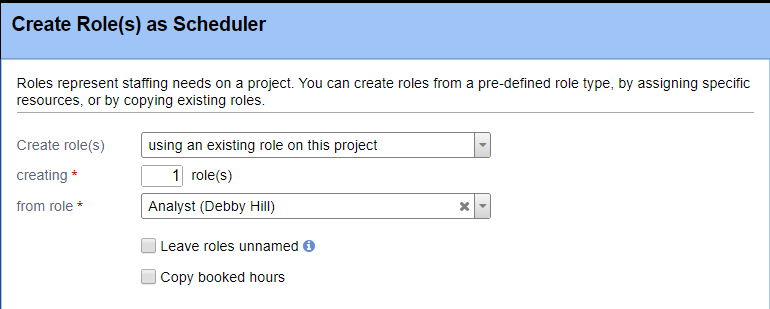
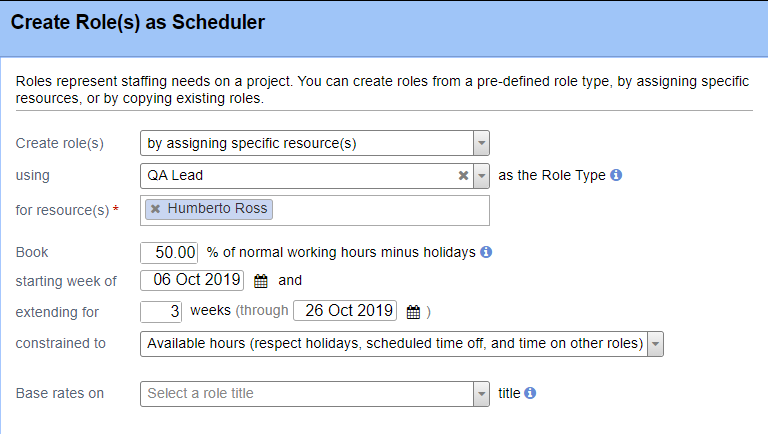
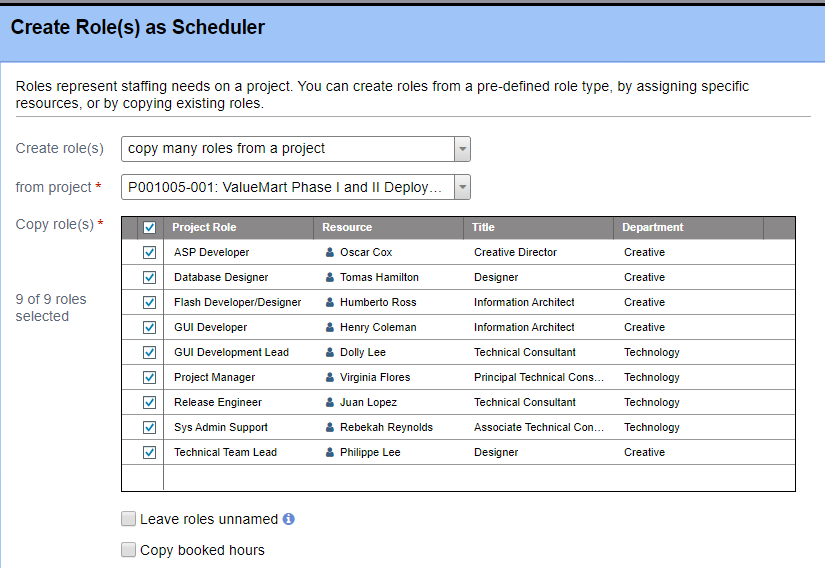
Click the +Add Roles... button. A modal popup is displayed. Projector supports four methods for role creation.
Using Role Types
Role Types are a predefined template to describe the department, title, cost center, location, resource type, skills, and keywords that should be used to fulfill this role.
Base on Existing Role
Make a copy of an existing role on this project.
Choose Specific Resource
If you know the resource you want assigned to this role, directly choose them with this option.
Copy Roles From a Project
Search for an existing project and copy all ticked roles.
Delete
Tick the role checkboxes and choose Additional Actions | Delete Role. If you cannot delete a role then there is some type of audit history on it. For example, time was entered for it and transferred to another role. Set a role end date and discontinue future use.
Undelete
When you delete a role it isn't actually deleted. You can always restore it later. To do so follow these steps:
- Under the gear icon choose Customize. Add the column Delete Role?
- Under the gear icon choose Show deleted roles.
- Tick the checkboxes for roles you wish to undelete
- Click Additional Actions | Undelete role
Edit
Click on a role name or the drilldown icon . This will open the role where you can edit the following:
- Resource Assignments
- Schedule
- Rates
- User Defined Fields for the role
- Notes
Assign
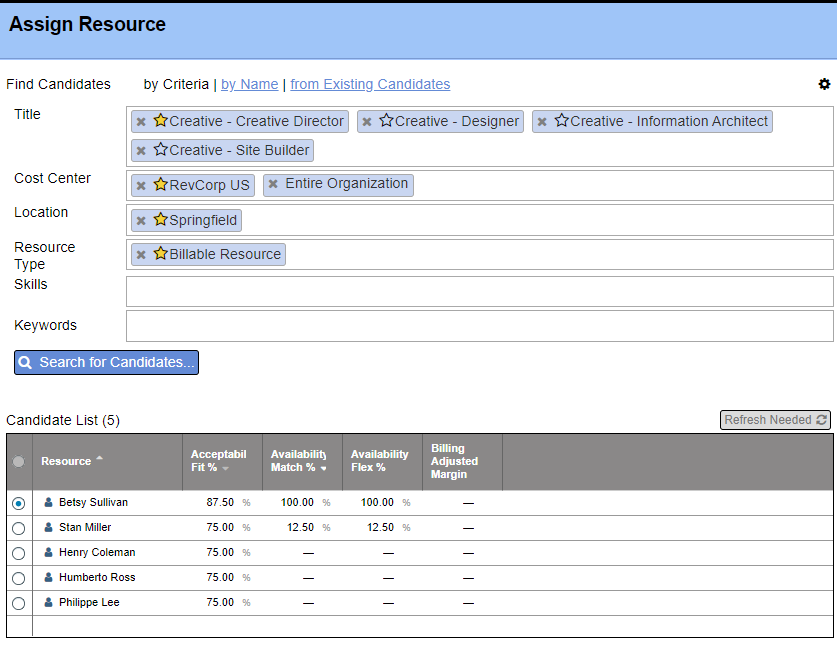
Click the Assign button to specify resources that can fulfill a role. In order for this option to be available only one role can ticked.
| Field | Description |
|---|---|
| Resource | The resource you would like to work this role |
| Acceptability % | |
| Availability Match % | |
| Availability Flex % | |
| Billing Adjusted Margin | (BAR / RDC) / BAR Higher margins are better! |
Edit Hours
Tick the checkboxes for all the roles you want to edit hours on. Then click Edit.
Cells with a line of dots are editable.
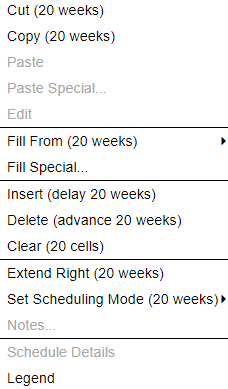
You can right click for a host of fill options.
You can also copy/paste directly from Microsoft Excel into the grid.
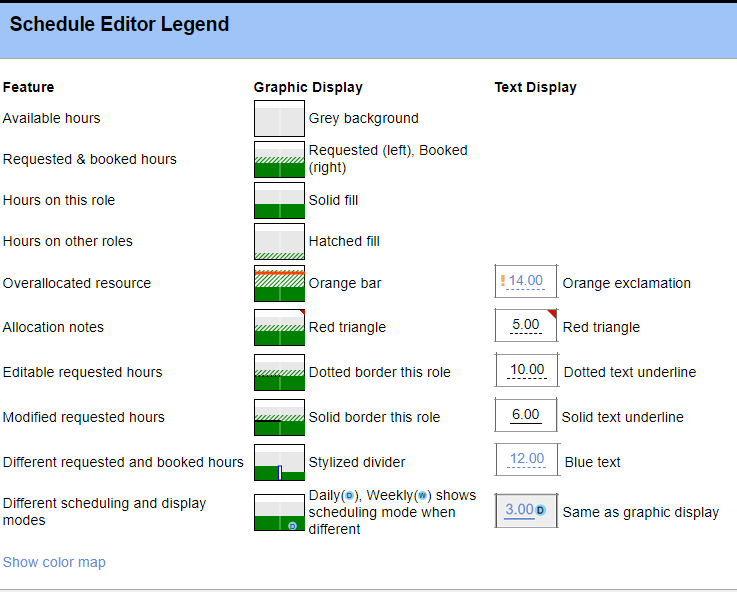
Schedule Legend
The below screenshot shows the meaning of the bars which fill the Schedule row.
Color Map
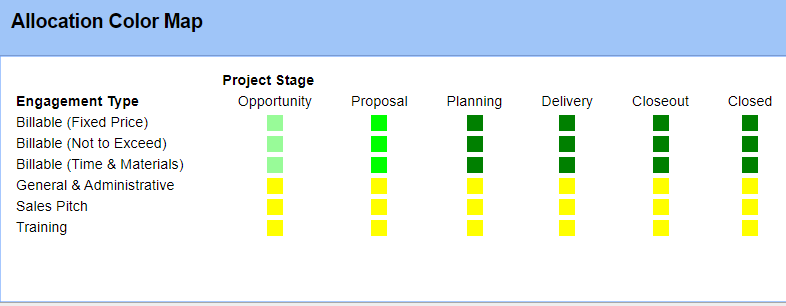
Click Show color map to see what different colors mean for your organization. Colors are set through the Scheduled Hours Color Map Editor.
Submit Reject Approve and Finalize
Submit
Once you are certain a role, or roles, are ready to be scheduled you submit them for approval. Roles you have been editing will be in the Request in Process status. You most likely want to plan all your roles and their hours, then submit everything at once for approval.
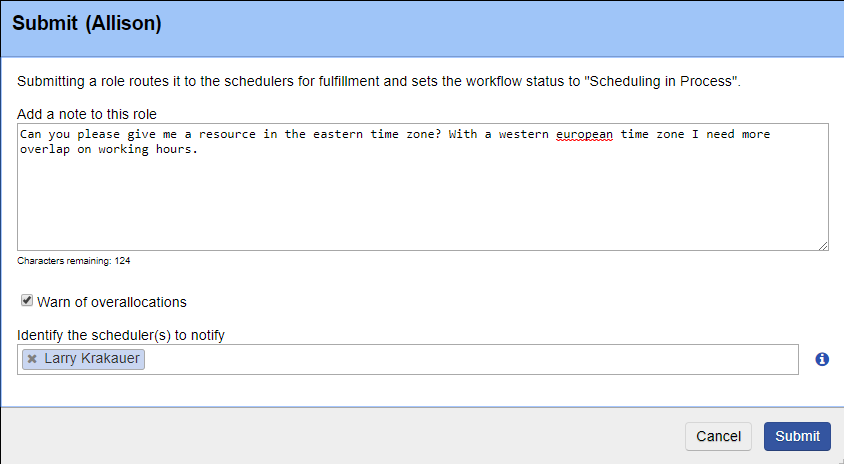
The submit option is available when you are set As a Requester. Any role can be submitted, even roles that are already Scheduling Complete. Upon submission you'll be prompted to enter a note as well as which schedulers you wish to notify of the submission. Once submitted, the role changes to the status Scheduling in Process. It is then a scheduler's duty to approve and finalize the submission.
Approve
The request is booked as-is. Role status changes to Scheduling Complete.
Reject
The request is overwritten with what is currently booked. Role Status changes to Scheduling Complete.
Finalize
The request is partially filled. For example, not the exact hours requested or the exact resource requested. Role Status changes to Scheduling Complete.
Additional Actions
Under the Additional Actions dropdown you'll find the following choices.
| Control | Description |
|---|---|
| Notify Schedulers... | Send an email notification to one or more schedulers. |
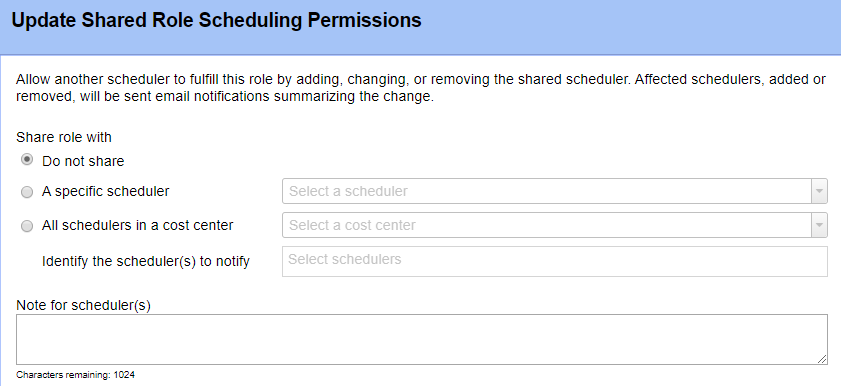
| Share scheduling with... | If a scheduler does not have permission to schedule a role on this project, you can share the role to them. Once shared, they'll be able to schedule. Useful when you need to do things like allow a UK resource manager to schedule their team on a USA project. |
| Route to... | Project Managers - Change a Scheduling in Process/Scheduling Complete role back to Request in Process Schedulers - Change a Request in Process to Scheduling in Process |
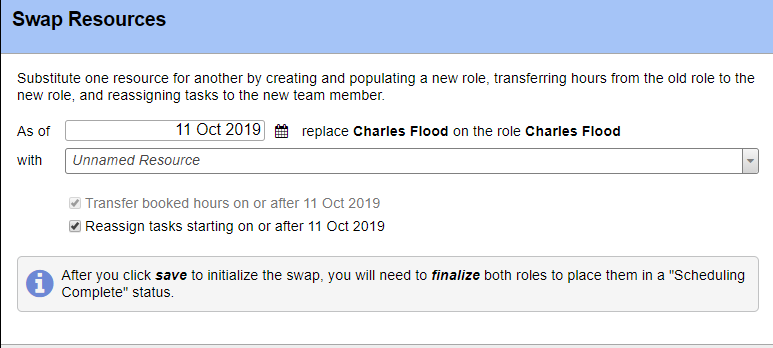
| Swap resource... | Useful feature when a resource needs to come off a project. Transfer all their scheduled and hours and tasks to a new role. |
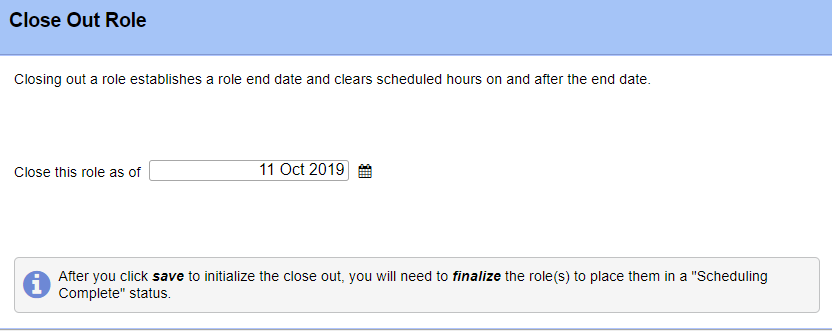
| Close out role... | If a resource is ending their work on a role, use this choice to keep them from entering time/expense after the specified date. Also clears future booked hours. |
| Delete role... | Tick the role checkboxes and choose Additional Actions | Delete Role. If you cannot delete a role then there is some type of audit history on it. For example, time was entered for it and transferred to another role. Set a role end date and discontinue future use. |
| Undelete role... | When you delete a role it isn't actually deleted. You can always restore it later. To do so follow these steps:
|
