Expense Reports MP
- Thomas Sherman (Deactivated)
An expense report is used for tracking an individual resource's expenses. Each report contains expenses associated with projects the resource works on. Each expense can be individually approved for reimbursement and invoicing (as opposed to requiring the entire expense document to be approved).
Expense Reports are typically created in Expense Entry, but can also be created and edited through the management portal by administrators. Approvals of expense reports are always done in the management portal.
A typical expense report would be for a business trip where a resource includes plane tickets, cab fair, lodging, and meals. If these expenses were paid by the resource, they can be reimbursed for their outlay. If paid by a company credit card, your credit card provider may be reimbursed. In addition, those expenses will likely be pulled onto an invoice and passed onto a client for reimbursement to the company.
This page explains the basics of expense reports, which are a type of expense document. Please see these additional help topics if you don't know what an expense document is.
Expense Reports are created and managed on the web through Expense Entry. Expense reports can also be created and managed from the Expense Browser of the Management Portal.
Permissions and Settings
There are quite a few permissions that affect expense reports. As an expense report is a type of expense document, you should review that help page so that you understand what higher level permissions inherit down to here.
Resources typically create and modify expense reports through Expense Entry on the web.
The reimbursement currency for an expense report is determined by resource's company as determined by their cost center on the date of creation. For example, Sarai is in the Spain cost center, which is assigned to the Europe company, which is assigned the Euro currency. Sarai is reimbursed in Euros.
Administrators can enter expense reports for other resources if they have the cost center permission Maintain Expenses Reports.
Administrators typically find expense reports from the Expense Browser and edit them through the Expense Document Editor.
Each Expense Report is associated with exactly one resource.
Expense Reports are assigned the resource's cost center upon creation. This cost center cannot be changed. This is to keep approval permissions and accounting transactions consistent throughout the lifecycle of an expense report.
Expense approvals are a three step process. To learn more about how to approve expenses, please see the help page Configure Expense Approval.
- Workflow approval - initial approval to allow the card into the system. You cannot approve your own expenses ever.
- Reimbursement approval - the resource or company credit card will be reimbursed for their outlay
- Invoicing approval - the expense may now be pulled onto an invoice and issued to a client
Many settings that affect the workflow of expense reports are available on the System Settings Editor Cost Tab.
- Receipts may be optionally attached to entire expense reports or to individual expenses
- Optionally resources may mark expenses not chargeable to a client. Although this can be overridden by administrators.
- Optionally require Locations
- Optionally enter expenses outside of project dates (useful if your sales people incur expenses prior to project work starting)
- Optionally convert between currencies based on an automated currency rate feed
Manage Expense Reports
Common actions around expense reports
Create
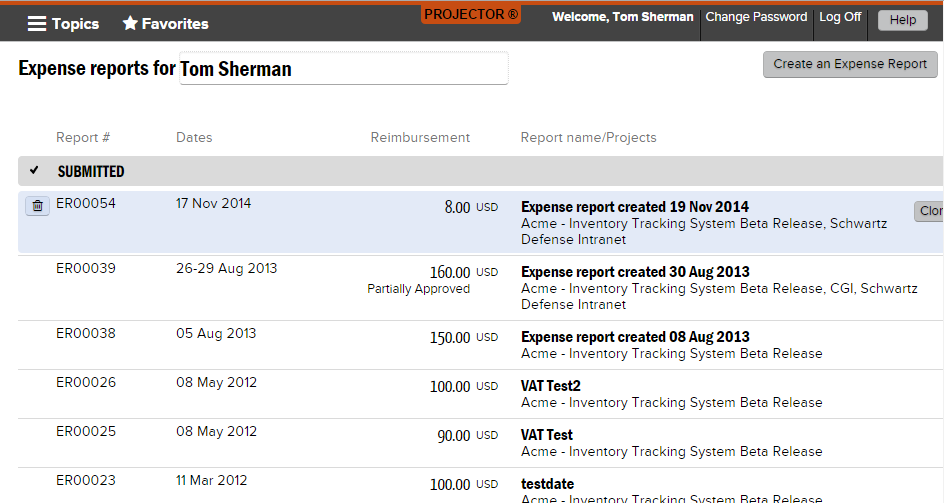
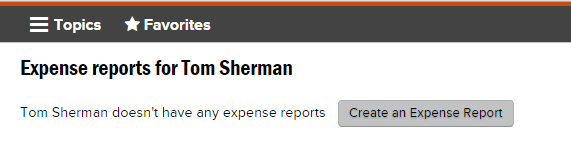
Click Create an Expense Report from https://app.projectorpsa.com/expense
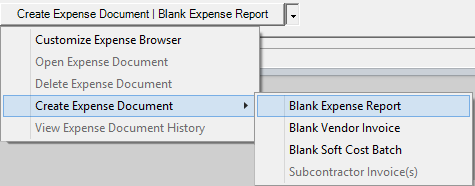
From the expense browser, click the multi-select dropdown and choose Create Expense Document | Blank Expense Report.
Modify
Select any expense report from Expense Entry and add cards.
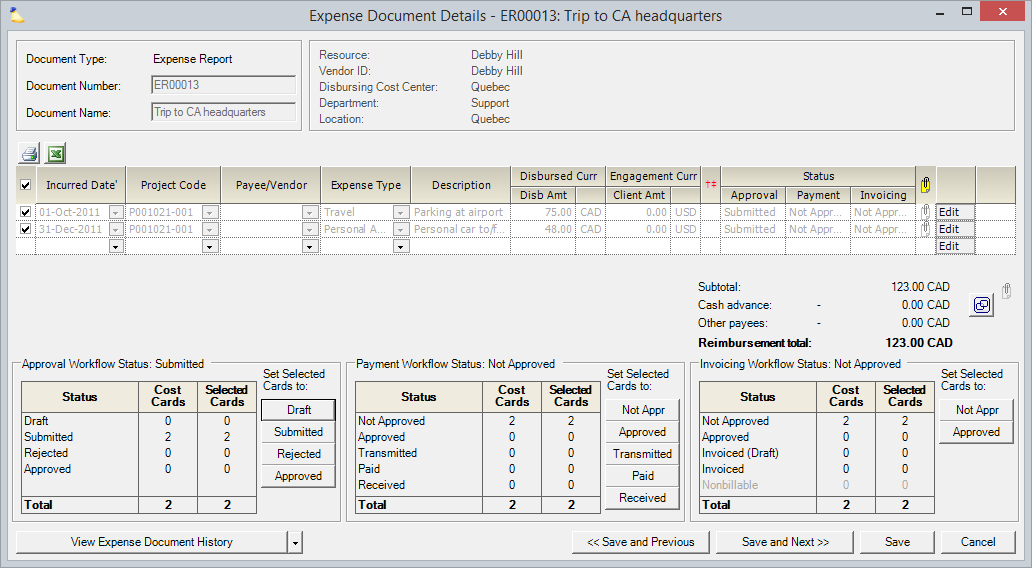
Open any expense document from the expense browser. You can then make changes from the Expense Document Editor.
Delete
Click the Delete button in Expense Entry.
Right click an expense report from the expense browser and choose Delete.