...
This tab is reached by opening a project and selecting the Workspace tab.
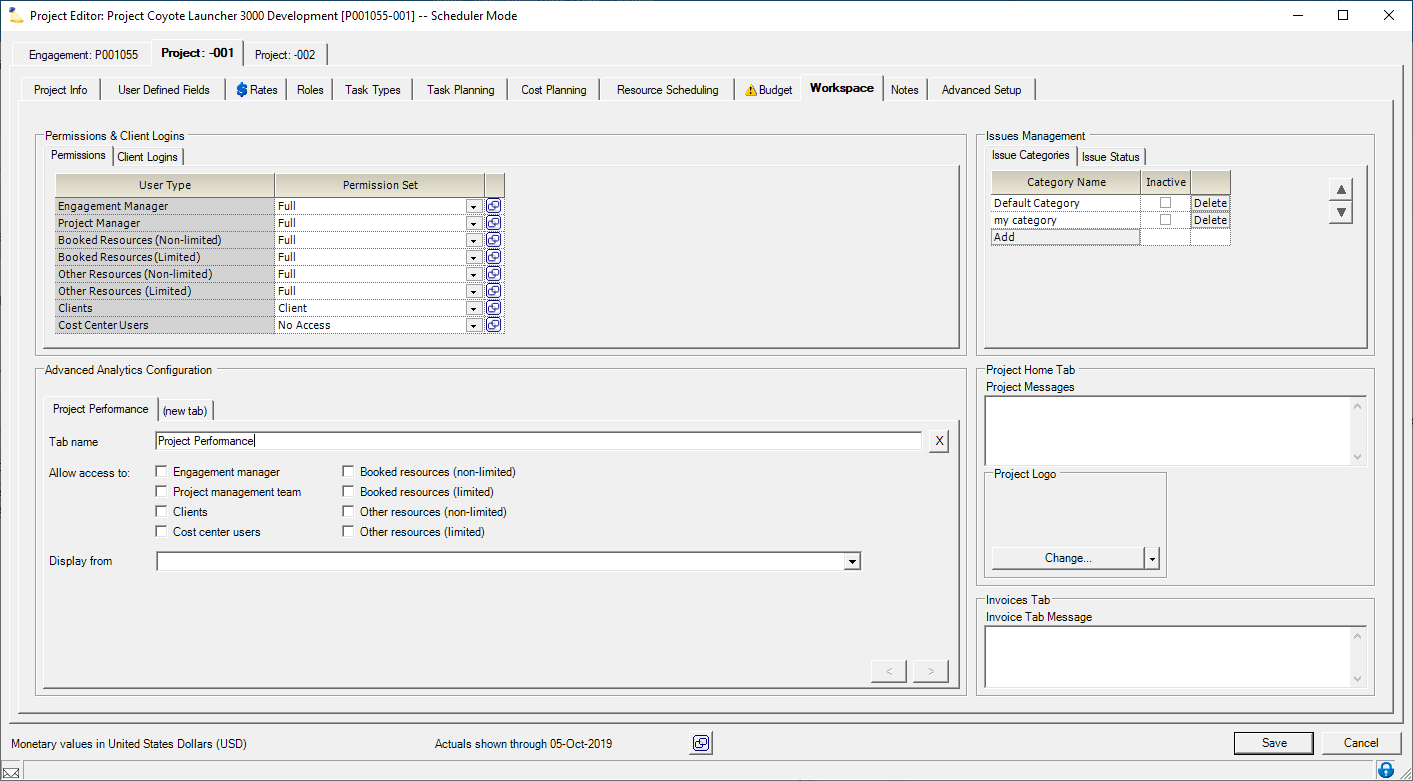
Permissions and Settings
...
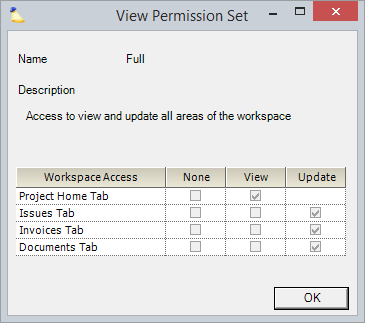
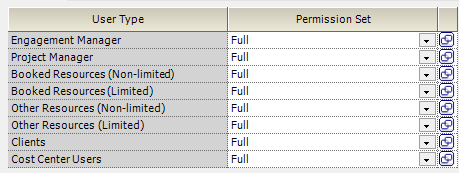
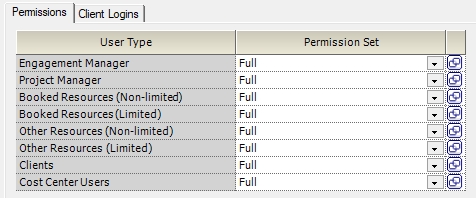
These permissions are defined through the Permission Sets Editor. You can see an example permission set called Full Access in the screenshot below. If you have not yet defined your permission sets, then it is probably a good idea to visit the permission sets editor and review them.
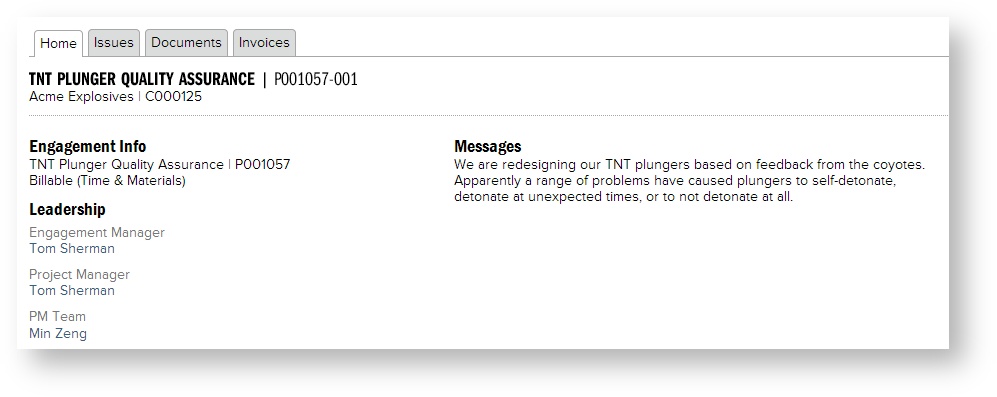
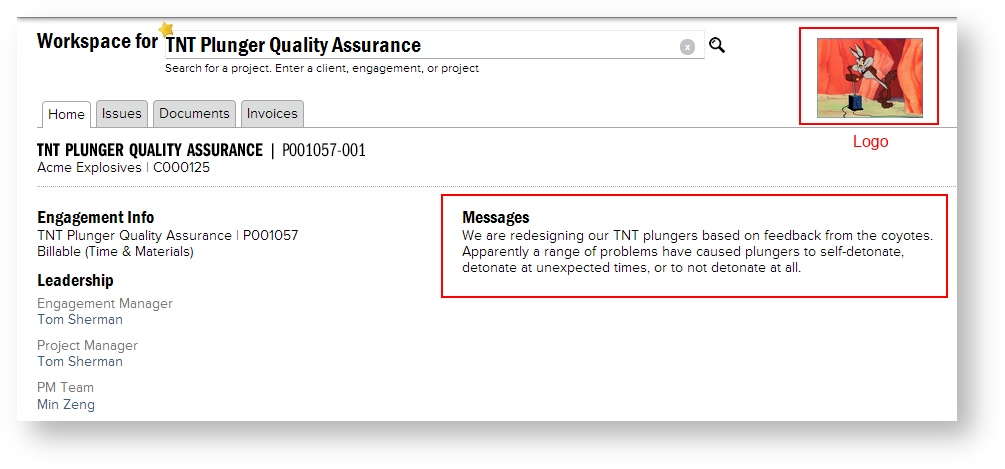
The following screenshots show examples of the four project workspace areas. (click to enlarge)
Home
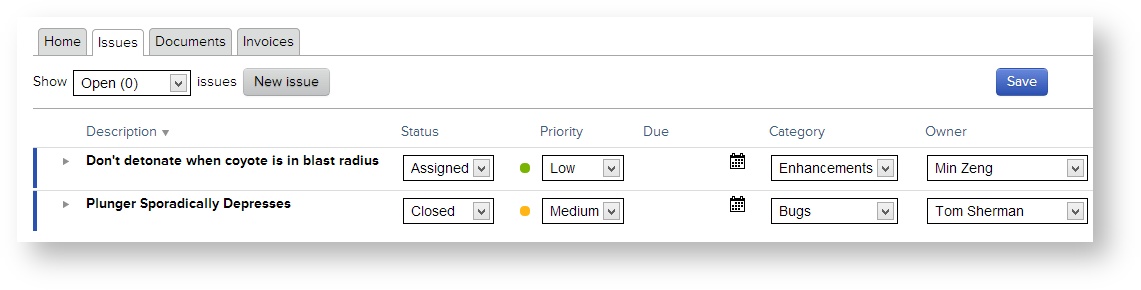
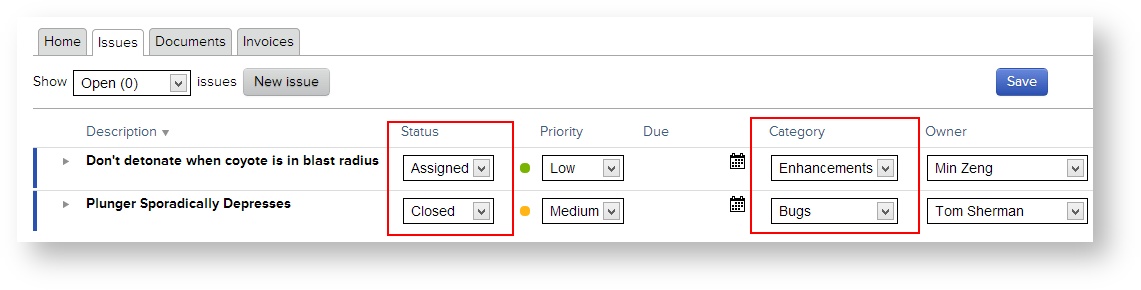
Issues
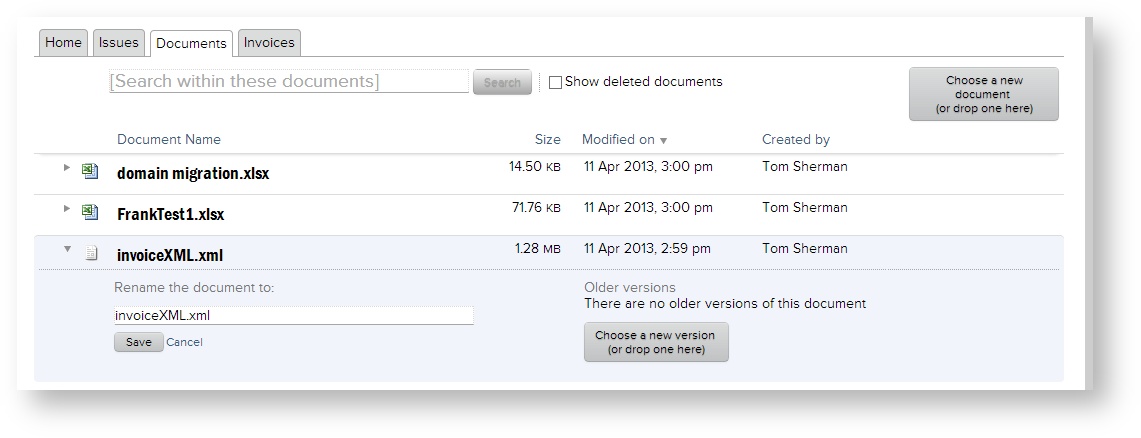
Documents
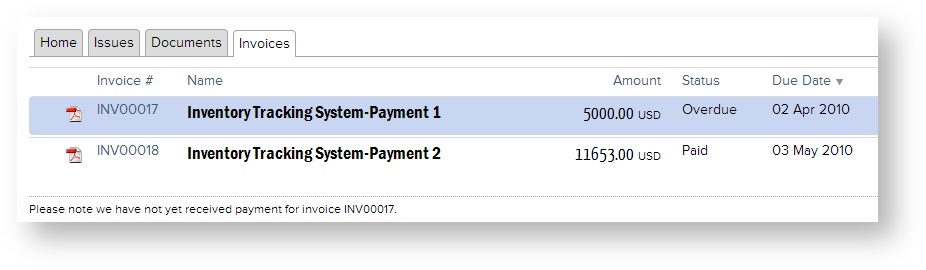
Invoices
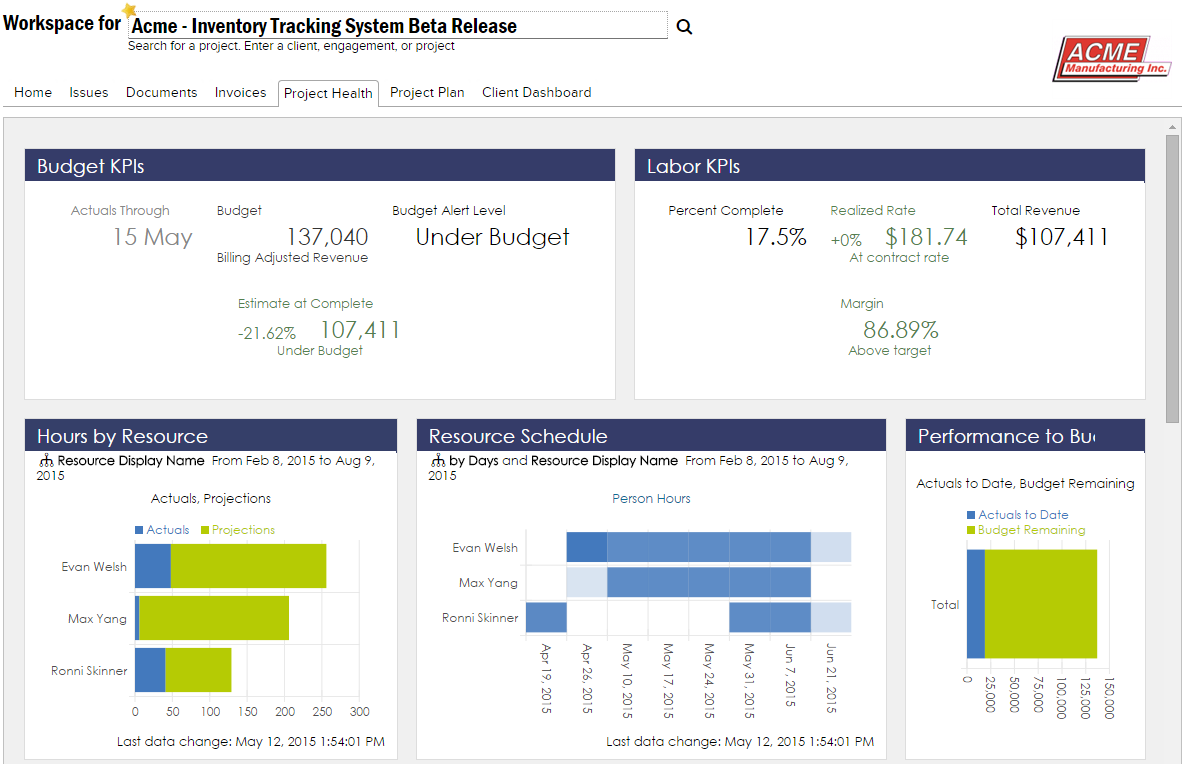
Advanced Analytics
...
Each Permission set is applied to a group of users. The groups are predefined by Projector and cannot be changed/edited. Who comprises each group is explained in the table below.
| User Groups | Description |
|---|---|
| Engagement Manager | Defined on the Engagement Info Tab |
| Project Manager | Defined on the Project Info Tab. This includes anyone who can Act as PM |
| Booked Resources (Non-limited) | Any resource who is currently booked to the project. |
| Booked Resources (Limited*) | Any resource who is currently booked to the project. |
| Other Resources (Non-limited) | Any active resource in your organization. Does not require any special permissions (view project, etc). |
| Other Resources (Limited*) | This option was included for completeness, but is effectively non-funcitonal. Limited users are excluded from viewing accessing projects they don't have a role on. As of this time, that situation does not occur. |
| Clients | Any user with the Client flag set on their user profile. Client users are logins created for your clients. This allows them to log into Projector and collaborate with your team and view their invoices. |
| Cost Center Users | Users with the cost center permission Access Project Workspaces |
| *Limited | A limited resource has their access to project information restricted. This is often used for sub-contractors to ensure they only see projects they are assigned to. It is enabled on a per user basis through the user editor. |
...
Now that you know what permissions sets and user groups are, you a ready to start applying permissions. The default permissions are automatically populated based on the engagement type. To change them, choose a new Permission Set from the dropdown list. You can view the permission set details by clicking on the 
icon.
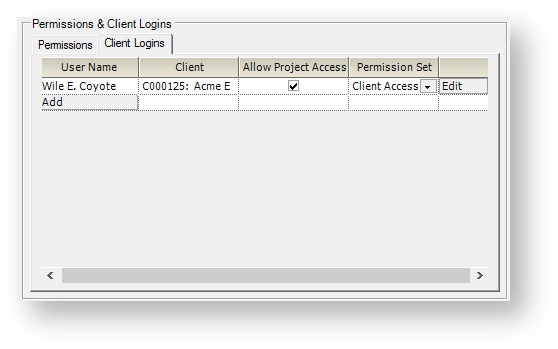
Client Logins Tab
Add client users from this tab. Tick the Allow Project Access checkbox to allow them to login and view project workspaces. By default the permissions are inherited from the Permissions tab, but you can override this through the dropdown box. This might be necessary if you have two contacts at your client's company. One is a manager who provides input on the project. The other is their finance person who pays your invoices. You allow the PM to view project issues, but not invoices. Vice-versa for the finance manager.
| Note | ||
|---|---|---|
| ||
Unchecking the Allow Project Access box prevents access to the Workspace. If you want to completely remove the user from the list you have to delete their user account or mark them inactive. |
...
Issues are utilized by project managers to assign and track project-level tickets as well as to coordinate issues with your client. Each issue is entered with a category and a priority, and is assigned an owner. Documents can be attached to the issue, and users can reference issue history.
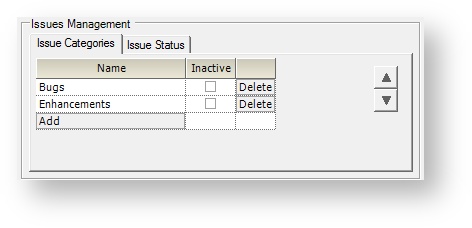
Issue Categories
First define your issue categories.
| Column | Description |
|---|---|
| Name | Your users will choose this name when assigning a category to an issue. |
| Inactive | An inactive issue is unavailable for new issues, or for moving a current issue to it. Existing issues remain unaffected. |
| Delete | Remove the issue. If there are any existing issues using this category, then it cannot be deleted. The category is marked inactive instead. If you really need to delete the issue then you should log into the project workspace and change all existing issues to a new category. Then delete. |
...
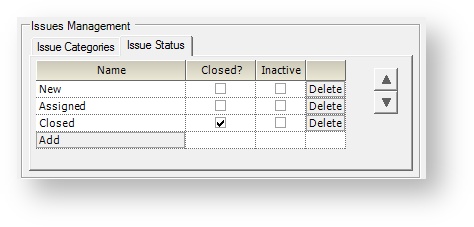
Then define your Issue Status. Each status is an option for each category. A Closed issue
Advanced Analytics Configuration
...
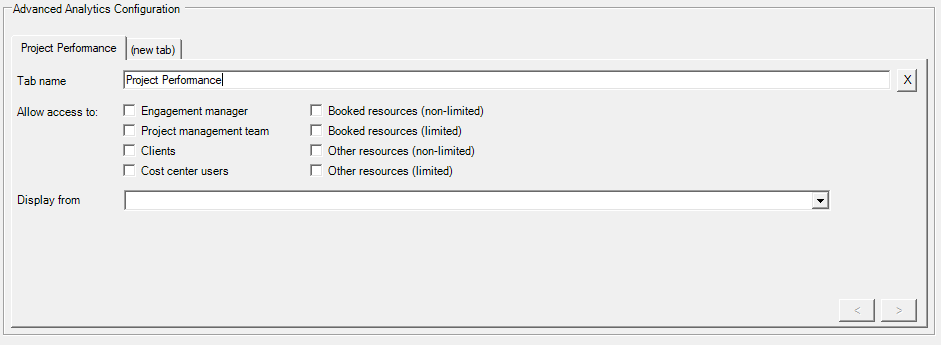
Add a tab for each dashboard or report you want to display.
| Control | Description | |||||
|---|---|---|---|---|---|---|
| Tab Name | When users view their project workspaces, they will see additional tabs. The name here is the name they will see in the user interface. | |||||
| Allow access to | Tick the checkbox for each User Group granted access to this tab. If you are unfamiliar with user groups, see the User Groups section of this page. | |||||
| Display from | ProjectorBI - see /wiki/spaces/docs/pages/12916058 MS PowerBI - enter your Workspace ID, Report ID, and Filters. See /wiki/spaces/docs/pages/12912333 for more information. Other Compatible BI Tool - Enter the URL where your content is hosted. All three choices support the following dynamic filter values.
|
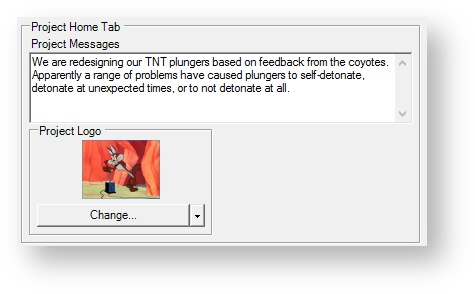
Project Home Tab
The project home tab typically shows a short message about what this project is and a logo. Often the logo used is the client's. This gives a personalized feel for clients that do login to review issues or access their invoices.
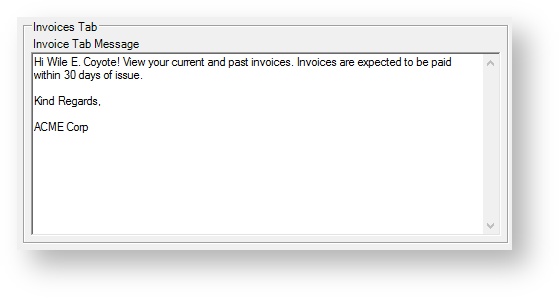
Invoices Tab
The invoices tab displays all invoices for the project's engagement. You can display a message for the client here.