...
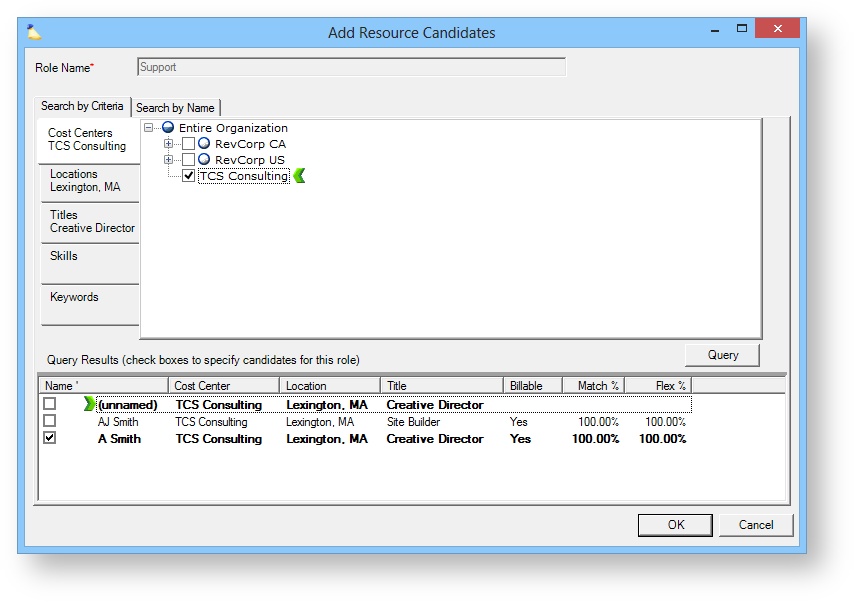
You must have at least one checkbox ticked for each of the first three vertical tabs before you can begin a query. They are Cost Centers, Locations, and Titles. Optionally you can specify Skills and Keywords to refine the search. See the table below for an explanation of each.
Section | Description |
|---|---|
Cost Centers | Press the Cost Centers button and check all appropriate cost centers. You may also select or deselect the cost centers below a cost center by right-clicking and choosing Select cost center plus children or Deselect cost center plus children. |
Locations | Press the Locations button and check all appropriate locations. You may select or deselect all locations by right-clicking and choosing Select all locations or Deselect all locations. |
Titles | Press the Titles button and check all appropriate titles. You may select or deselect all titles in a department by right-clicking and choosing Select all titles in this department or Deselect all titles in this department. |
Skills | Press the Skills button and check all appropriate skills. |
Keywords | Enter keywords to be used to search resumes. If you enter anything into the field, only resources that contain at least one resume that matches on the entered keywords will be included. Note that since this involves doing an additional search of documents stored in Projector, queries that specify keywords will not run quite as fast as queries that do not. |
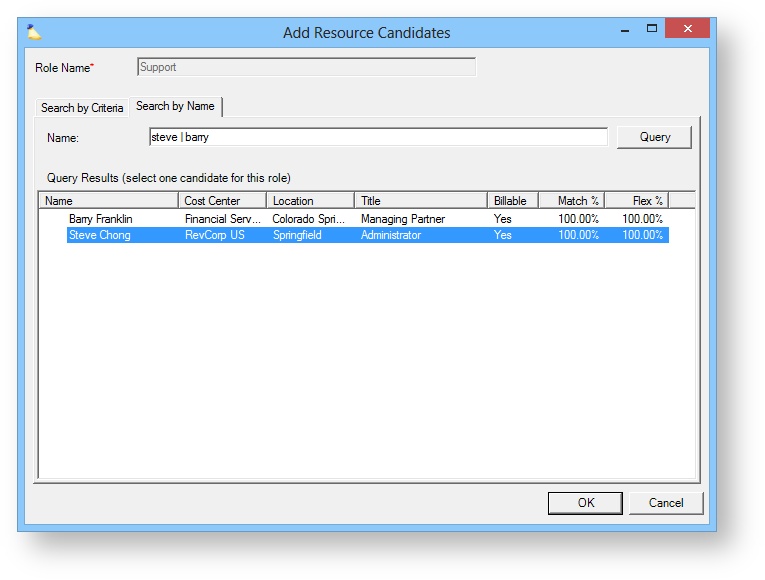
Resource By Name
If you already know the name of the person you want, or just want to see a list of all resources in your organization, choose the Search By Name tab. You can query using advanced search features to return everyone named Charlie or Tom. Or leave the field blank to return all users. Finally, select the person you want from the list and click OK.
Remove Resource
To remove a resource that is in the list, right click their name and choose Remove Resource.
Query Results
When you perform a query the results are shown in a grid. The table below defines each grid column. Of particular interest should be the Match % and Flex % columns. These show you how well the specific resource can fulfill this role. You can customize which columns you see in any given grid by right clicking in it and choosing Customize Columns.
...
All of the following fields are set in the Resource Editor except for Flex and Match percents.
Column | Description |
|---|---|
Name |
Employee ID |
Cost Center |
Location |
Department |
Title |
Billable | Shows Yes for billable in this column, while the column will remain blank for non-billable resources. |
Temporary | Shows Yes if true. Please note that the temporary flag is being phased out by the more powerful Resource Type setting. |
| UDF | An additional column is available for each resource UDF defined in your installation. By default, they are not shown in the grid, but can be added by right-clicking in the grid and choosing Customize Columns. |
Match % | Availability to fulfill requested hours exactly as requested. |
Flex % | Availability to fulfill requested hours within the same time period as the request, but not in the same distribution |
Match % and Flex %
These two values are very useful and warrant a section all on their own. They provide you with a quick percentage so that you can see the likelihood that a candidate has enough availability to fulfill all of the requested hours.
...