...
| Info |
|---|
The Management Portal is a desktop application used for administration purposes in Projector. It is typically used by admins, finance managers, project managers, and resource schedulers. Management Portal is supported by macOS versions 10.14 (Mojave), 10.15 (Catalina), 11 (Big Sur), and 12 (Monterey) including on Apple Silicon M1 hardware. Older versions back to 10.12 (Sierra) may work, but have not been tested. There are a few limitations to using Management Portal on macOS. Please see Can I use Projector on my Mac? If you are using Microsoft Windows and not macOS, you want this help page instead - Install Management Portal for Windows |
...
This page is about a new installation. Periodic updates are covered here: macOS - Management Portal updates
New installation (10-15 minutes)
...
- You can download Projector for macOS here OR
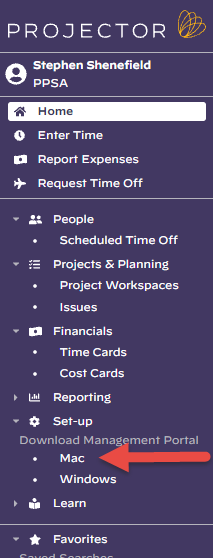
- Sign into Projector Web. In the left-hand topics menu, look for the Set-up category, and choose for Mac. If you do not have a download link here then you do not have permission to install or use Management Portal. Speak with your administrator.
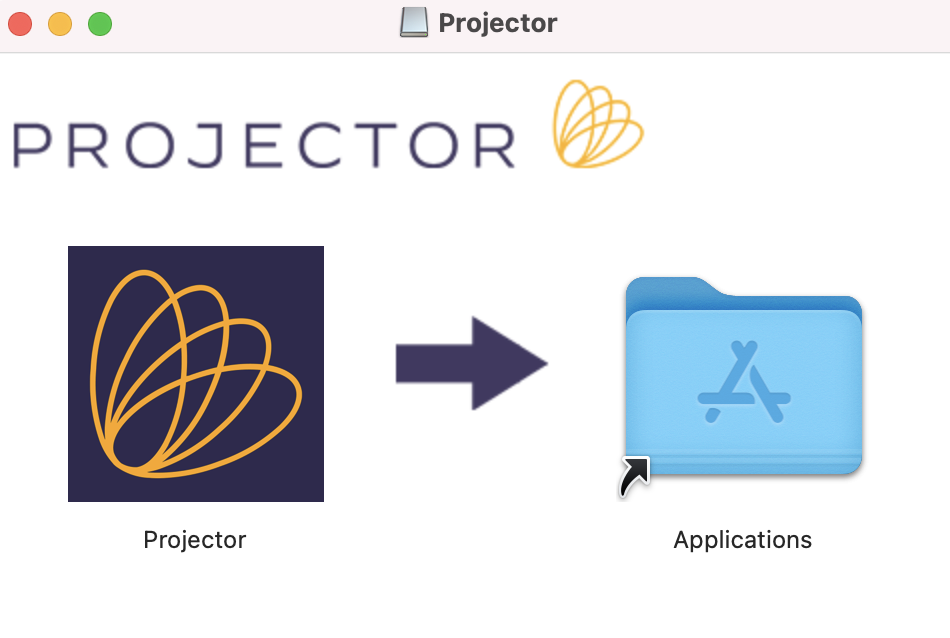
- The file Install_Projector.dmg is saved to your computer. Double-click the downloaded file.
- Drag the Projector app icon into the Applications folder.
Go to your Applications folder. Open Projector from the Applications folder.
Warning It is very important that you wait patiently during the following steps (8-15 minutes). Do not try to run Projector again until the installation has completed. Running prematurely or clicking cancel will break the installation.
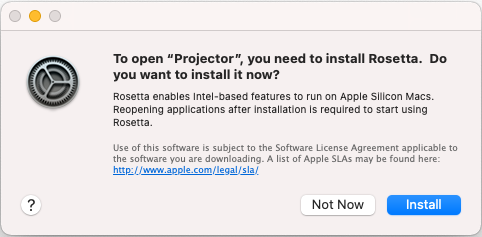
- Apple Silicon M1 Macs only: You may be asked to installed Apple's Rosetta software. This is required for using Projector.
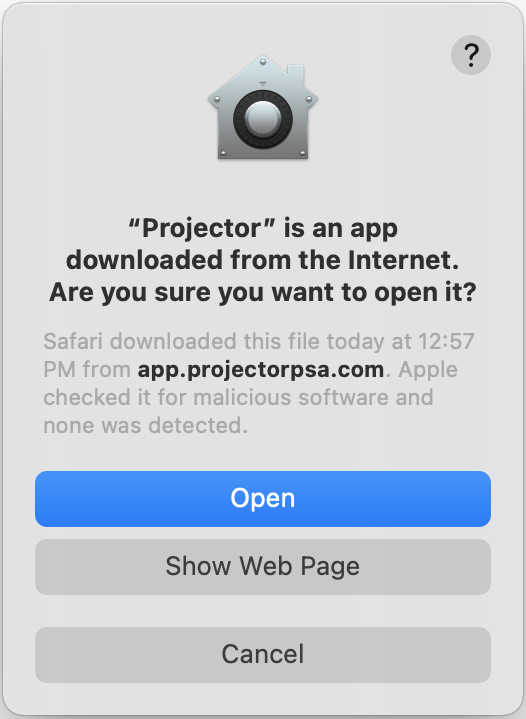
- A warning message will appear. Click Open. The file will be verified and opened.
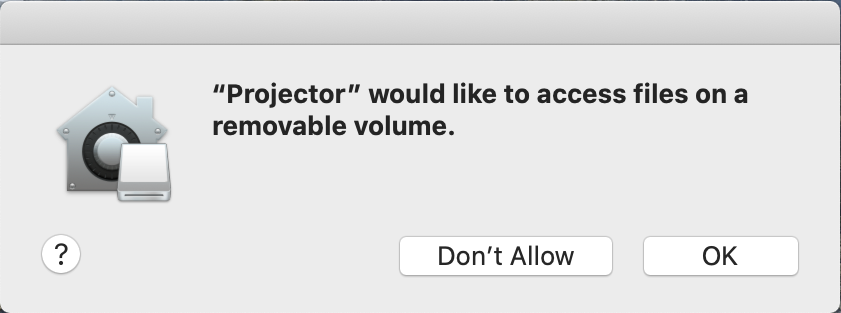
Big Sur / Monterey version: - A notification about file access may appear. Click OK.
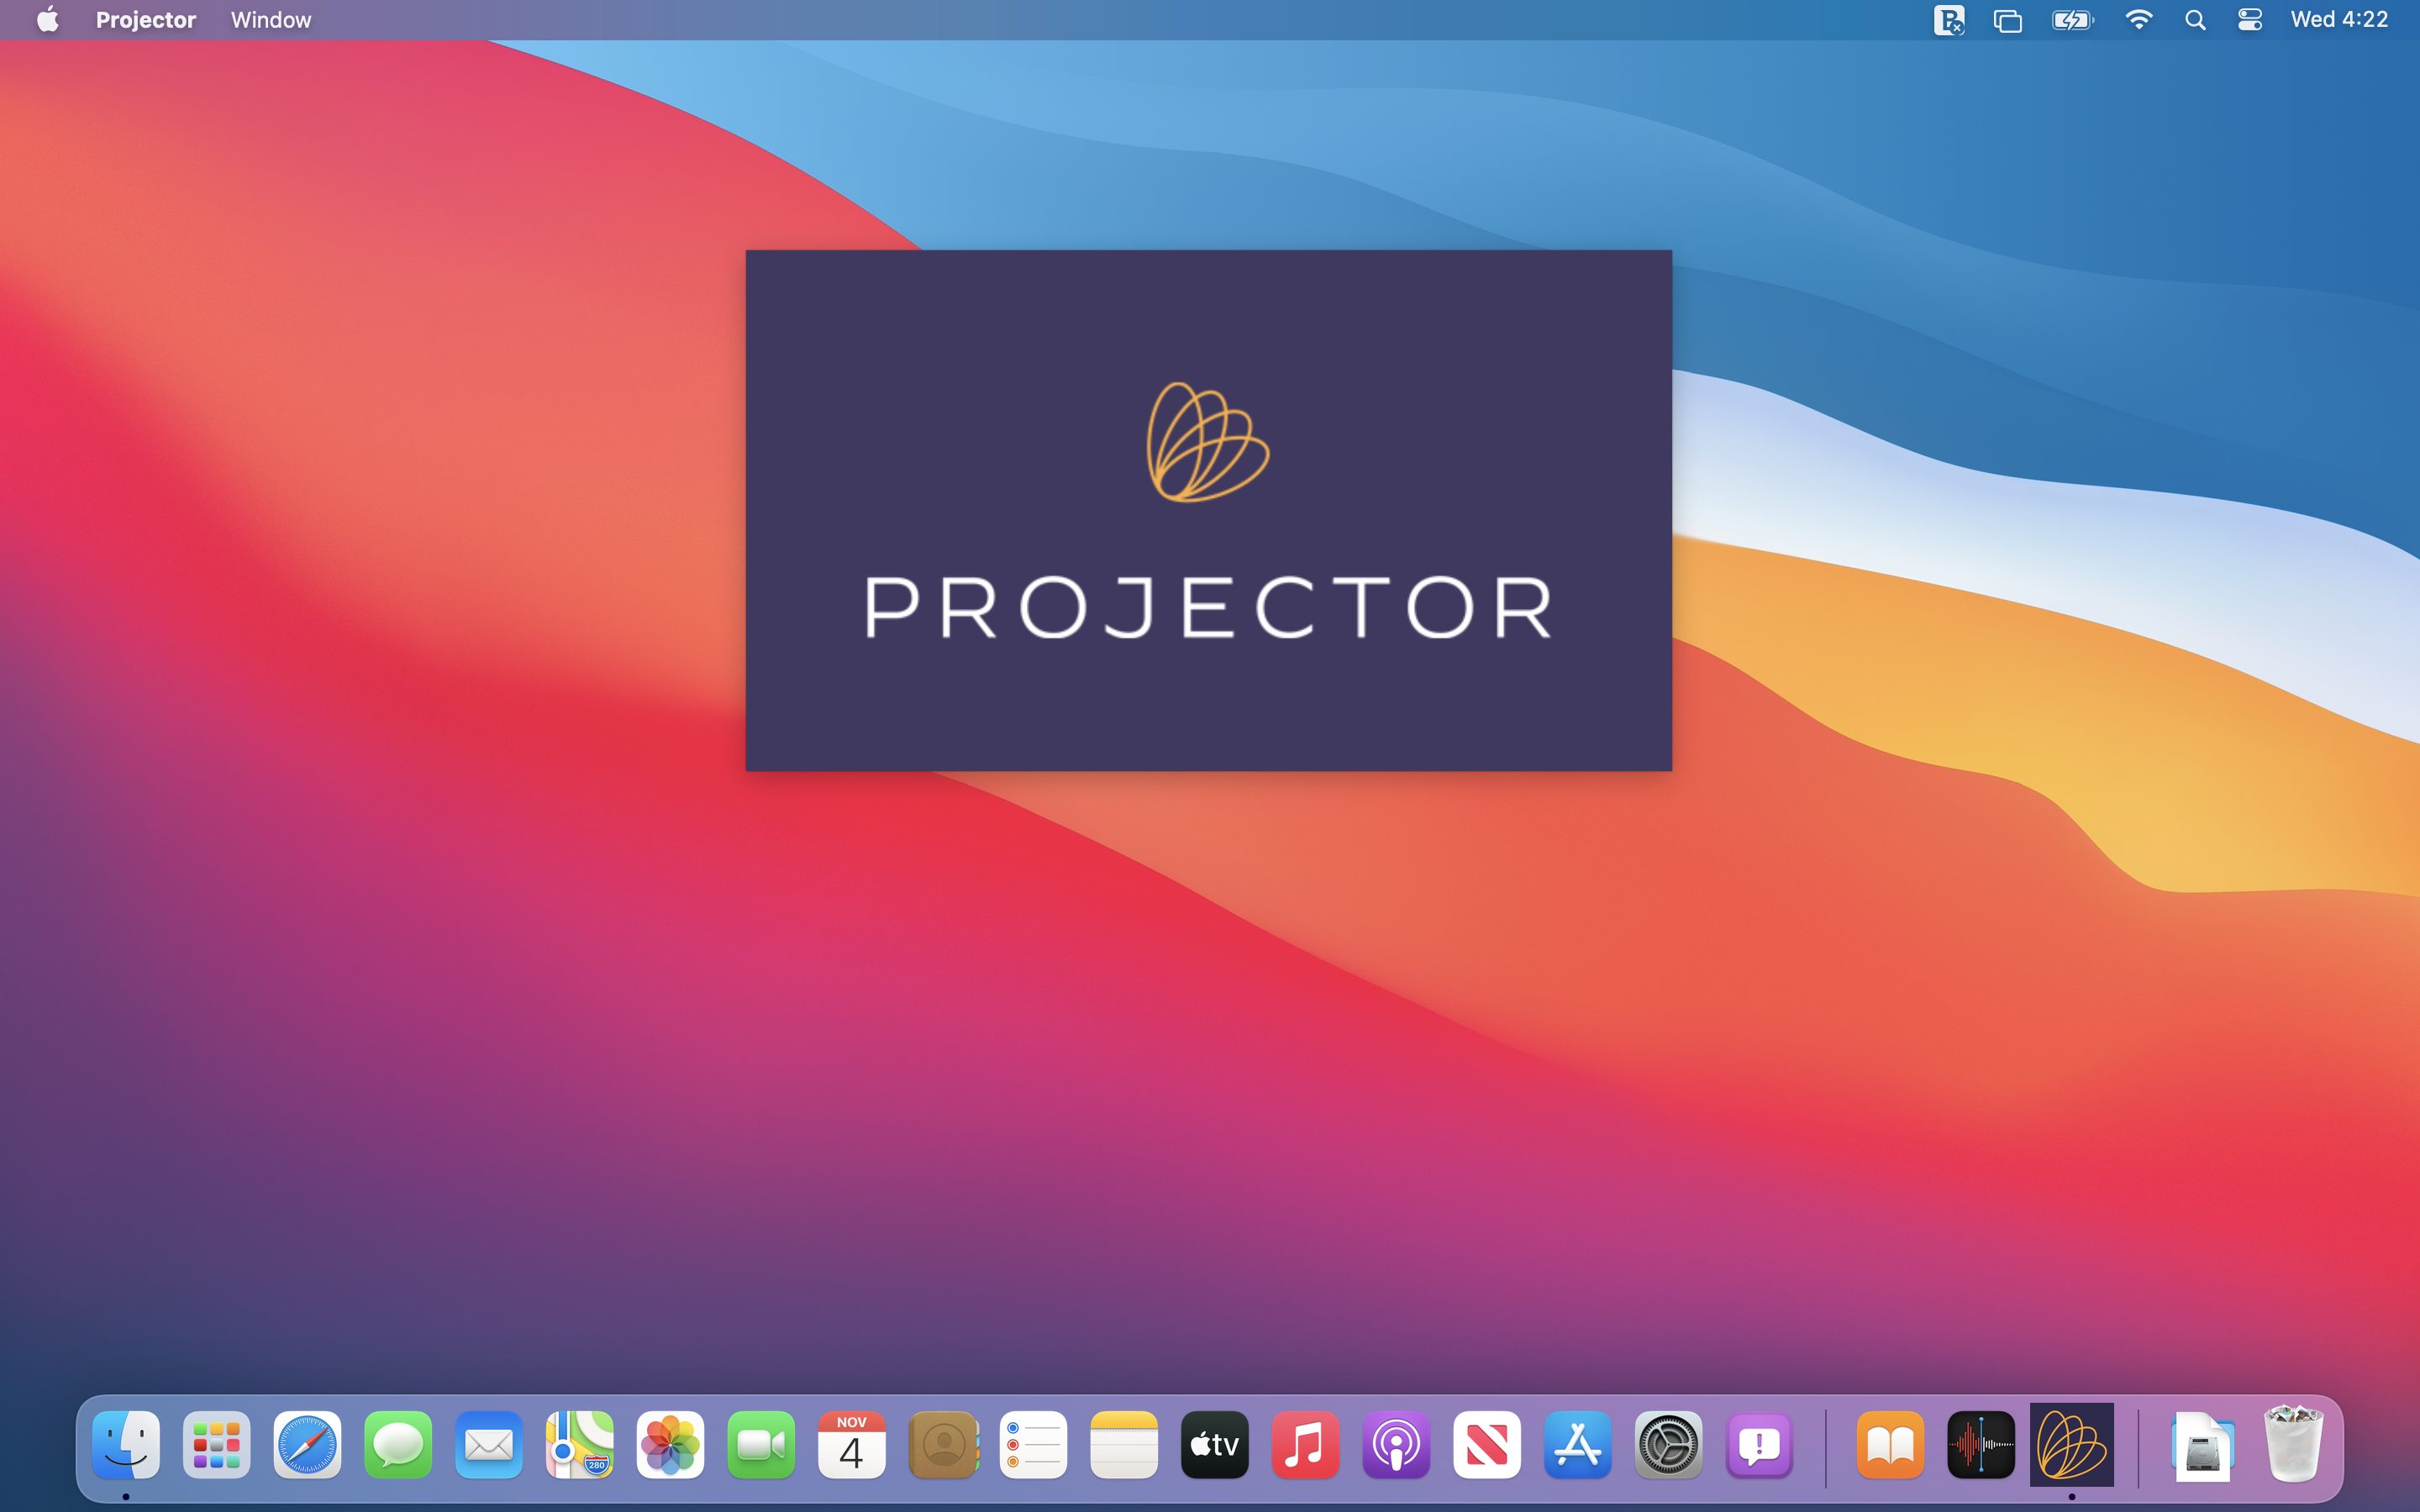
- Unless you are actively using other applications you'll see our splash screen.
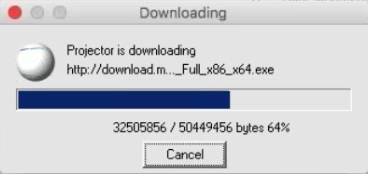
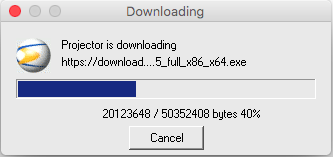
- Some files supporting Microsoft's .NET technology will be downloaded. Please wait.
- Files will be extracted. Keep waiting! (1 minute)
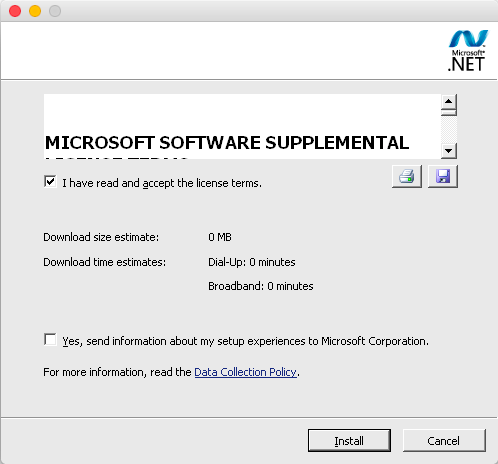
- Tick the checkbox I have read and accept the license terms. Then click Install.
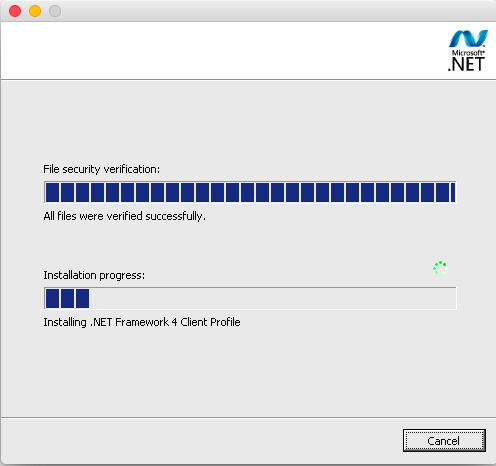
- Wait while the .NET 4.0 framework is installed. (3-4 minutes)
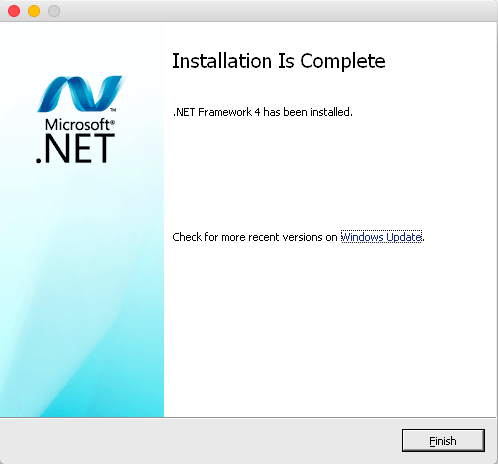
- Click Finish. Do not try to open Projector yet.
- Some more files will download. (1 minute)
- Files will be extracted. Keep waiting! (1 minute)
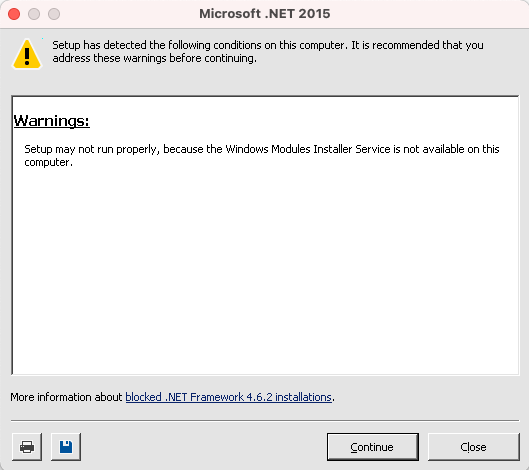
- Click Continue on this warning dialog. You do not need to worry about these conditions.
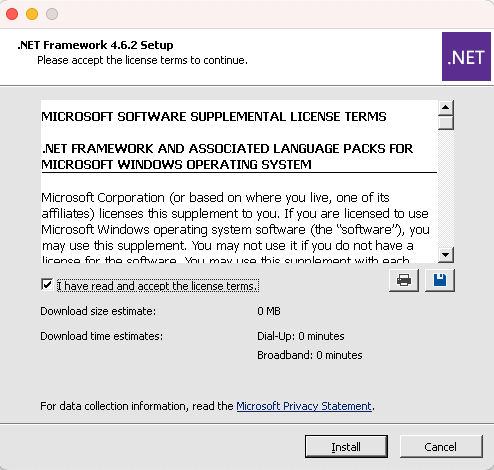
- Tick the checkbox I have read and accept the license terms. Then click Install.
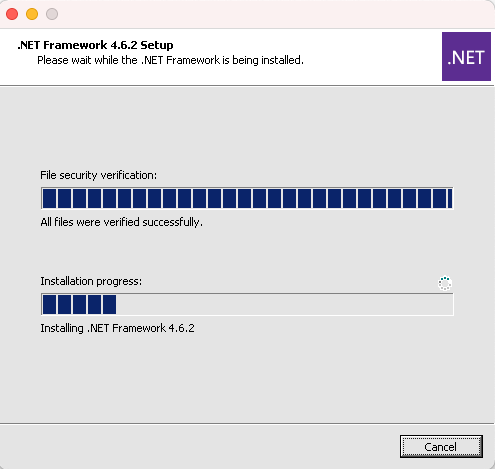
- Wait while the .NET 4.6.2 framework update is installed. (about 5-6 minutes)
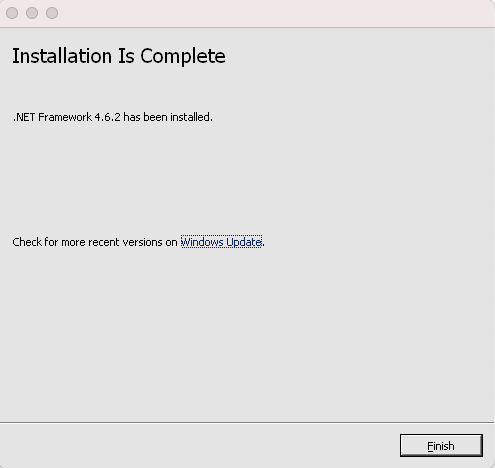
- Click Finish. Do not try and open Projector yet.
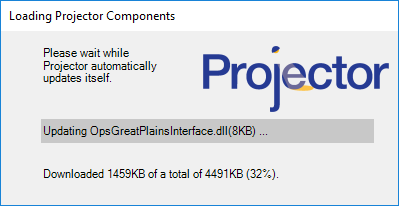
- Another download dialog automatically opens. (1-2 minutes)
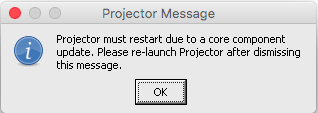
- You will be asked to re-start Projector. Click OK, and then re-start Projector from your launch pad or applications folder.
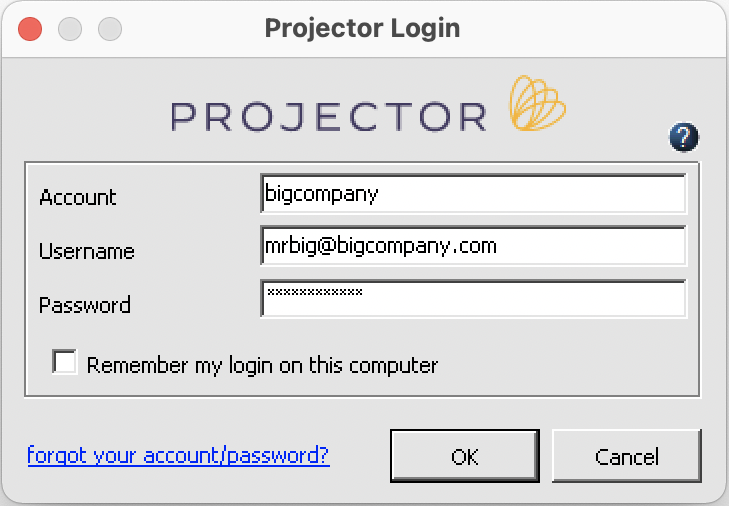
- Finally, you will be prompted to log into Projector.
...
