| Info |
|---|
You can configure ADFS to consume and respond to SAML 2.0 requests. That means it is possible to make it work with Projector's Single Sign On implementation. Please keep in mind that SSO is only supported by Projector Web and not by Management Portal or our mobile website. This page will walk you through a general configuration. This page assumes that the AD FS 2.0 snap-in is already installed and configured for your organization. |
...
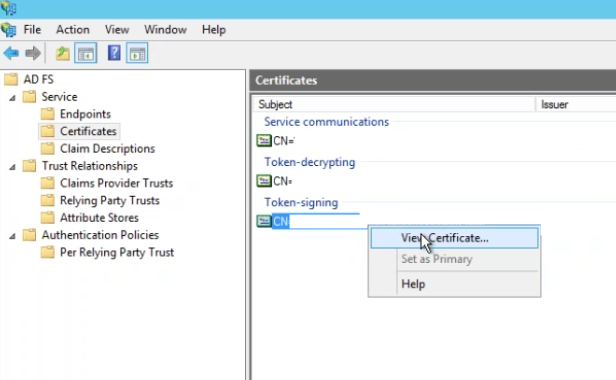
- Go to AD FS | Service | Certificates
- Under Token-signing, right click and choose View Certificate
- Go to the Details tab and choose Copy to File
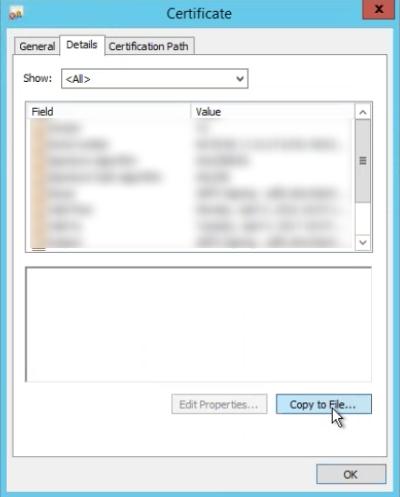
- Click Next
- Choose radio button for Base-64 encoded x.509 (.CER)
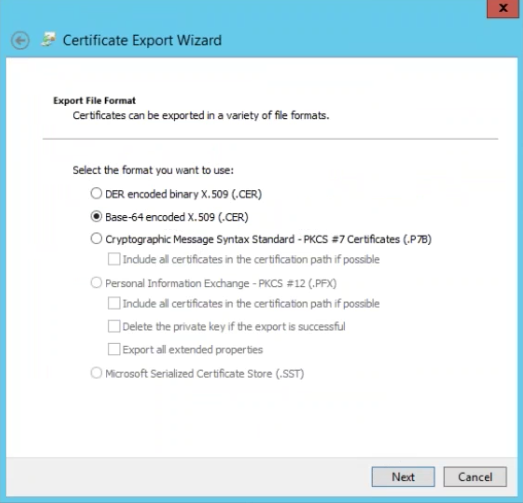
- Save to your computer
- Send the certificate to the Projector support team
Endpoint URL
You need to send Projector an endpoint URL. To find yours, go to AD FS | Service | Endpoints. Send the value for the SAML 2.0/W-Federation URL to Projector support. If you chose the defaults for the installation, this will be your doman, ending in /adfs/ls/.
Secure Hash Algorithm
As SHA-1 has known security vulnerabilities, Projector recommends using SHA-256. You can check your algorithm by going to AD FS | Trust Relationships | Relying Party Trusts | ProjectorPSA and going to the Advanced subtab.
...
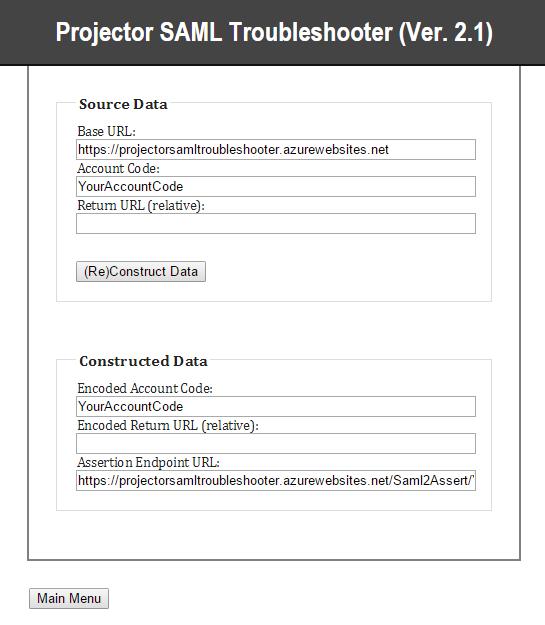
In the event that your ADFS configuration is not working, you can use our troubleshooting tool to view the SAML request and response. This will likely identify any outstanding issues.
- Visit https://projectorsamltroubleshooterprojector-saml-troubleshooter.azurewebsites.net/Home/Menu
- Click Get Assertion Endpoint URL
- Enter your Account Code
- Click (Re)Construct Data
- Copy the Assertion Endpoint URL
- Go to AD FS | Trust Relationships | Relying Party Trusts | Edit ProjectorPSA
- Go to the Endpoints tab
- Update your end endpoint to be the URL you copied in step 5
- Click Main Menu
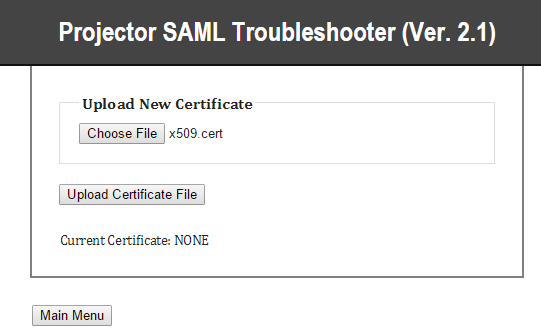
- Click Upload Certificate
- Upload the x.509 certificate you sent to Projector support
- Click Main Menu
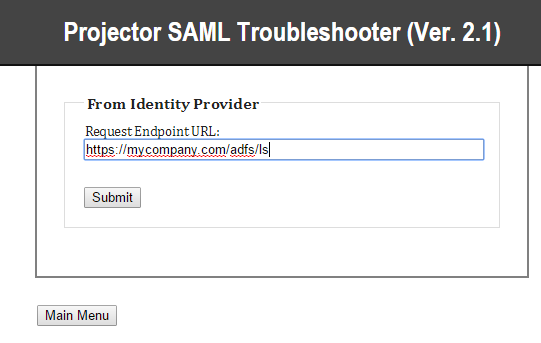
- Click Set Request Endpoint URL
- End your endpoint URL. It typically ends in /adfs/ls
- Click Main Menu
- Click Set Message Level
- Choose Debug from dropdown box
- Click Submit
- Click Main Menu

- Click Mock SAML Request
- You'll be prompted to enter your username. Enter your email address.
- Submit
- Copy the output and send it to Projector support
...