| Info |
|---|
Some basic help in getting Okta configured to work with Projector's Single Sign On implementation. |
Configure Okta
Basic steps:
- Log into Okta as administrator
- Applications menu
- Add Application
- Click Create New App
- Configure the application to assert your email address to Projector
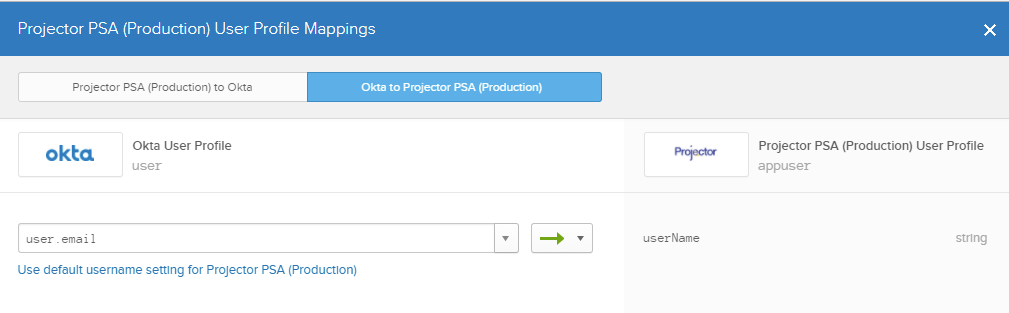
If your Okta username is not your email address, you'll need to create a mapping that sends your email instead of your username to Projector
...
. This can be done from Directory | Profile Editor. See screenshot below.
Enter ACS URL and Upload x.509 Cert to Projector
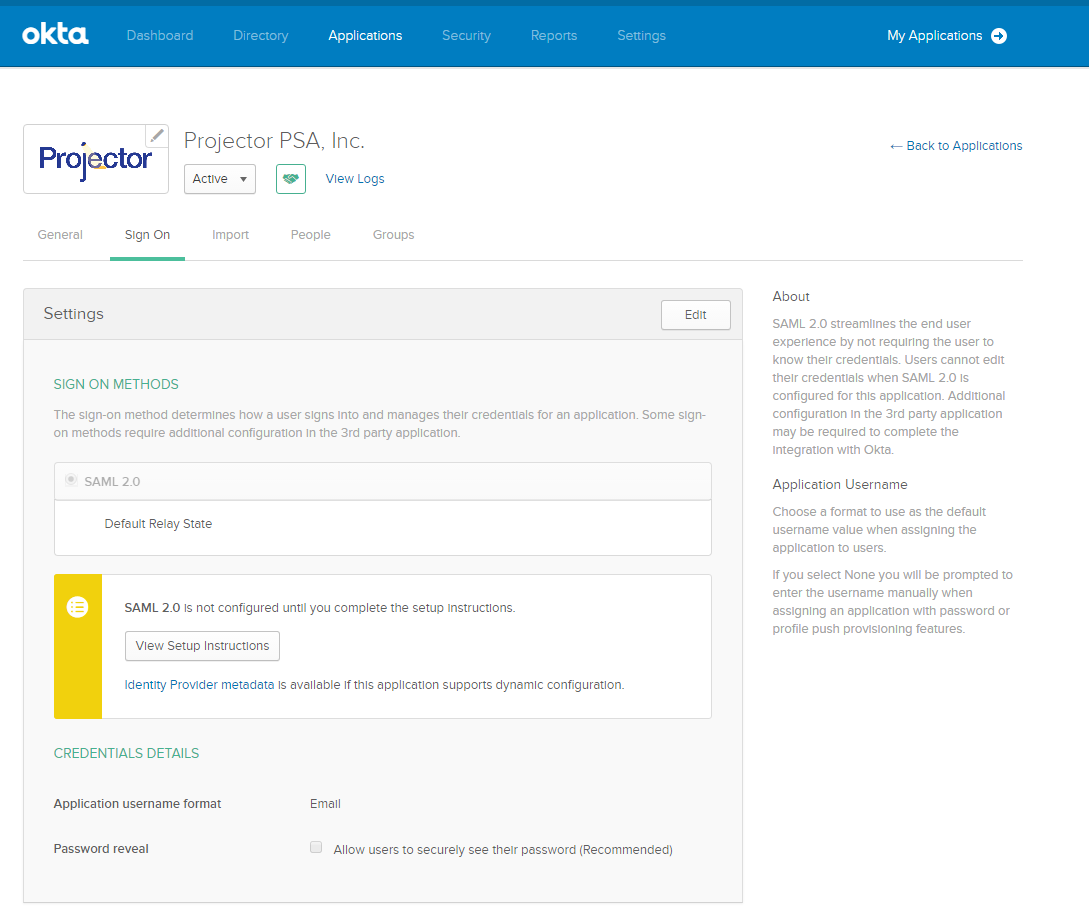
Go to Applications | SignOn | View Setup Instructions. Get your ACS URL and x.509 certificate. Then upload these into Projector from Management Portal.
...
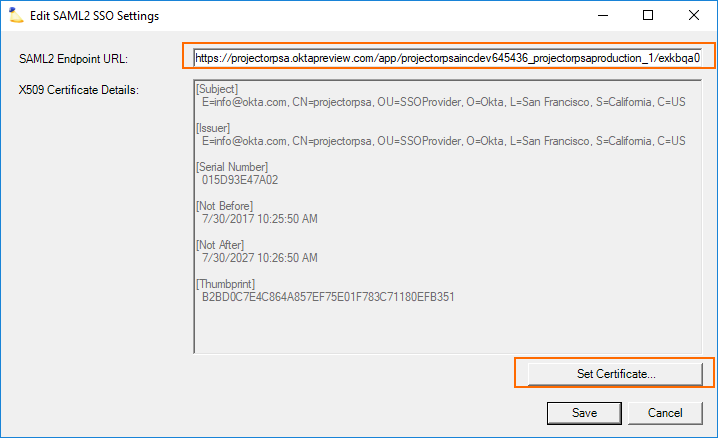
- Go to Integration tab | Single Sign On subsection | SAML 2.0 blue dot
- Click Edit SSO Settings
- Enter your ACS URL in the SAML2 Endpoint URL field
- Click Set Certificate and upload your x.509 certificate
Configure Mappings
If your Okta username is not your email address, you'll need to create a mapping that sends your email instead of your username to Projector. This can be done from Directory | Profile Editor. See screenshot below.
...
Test Your SSO
See: Single Sign On (SSO) Implementation Guide