| Excerpt | ||
|---|---|---|
| ||
learn how to customize the display of your invoices |
...
| Info |
|---|
The invoice template editor is where you will go to fully customize your templates. This article will serve as a brief introduction to the basics of using the DevExpress Report Editor with Projector. This article will only touch on the highlights of all the features available. For a full introduction into the capabilities of the report engine please see the Third Party Help Documents section. |
| Tip | ||
|---|---|---|
| ||
The Topic of the Day:Invoice Templates Customization webinar provides a general overview of Projector’s invoice template editor, as well as guidance on common customizations. |
The template editor can be launched from the Invoice Template Manager or the Email Template Editor.
...
The designer window is where you construct your report. The idea is to create bands. Each band holds information related to the layout of the template. For example, you can have a band that represents the first page of your report, one that contains information about what is being billed and finally a band that is the last page of your report.
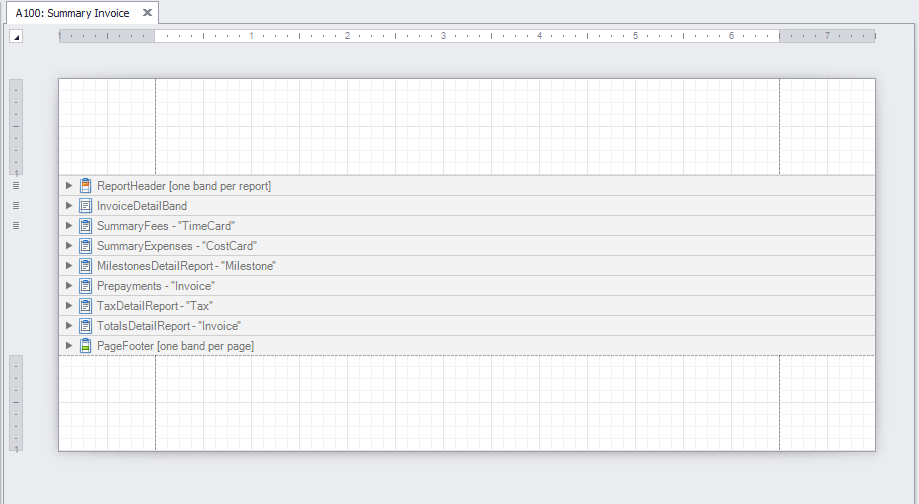

Inside each band you can then add a number of different controls linked to the Projector database to pull in invoice information. For instance, the name of your billable client, information on the time and cost cards being invoiced or your company logo.
...
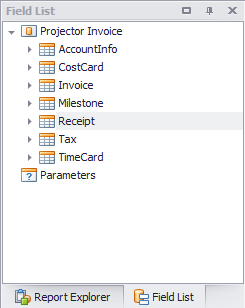
The information you will link to is contained in the field list. For a full list of the available fields and additional notes see the Template Field Lists page. These fields can be dragged and dropped into the designer window.

Template Controls
On the lefthand side of your template editor window you will see the different controls available for constructing templates. The following table lists the controls you are most likely to use. For detailed information about how each of them work see the full DevExpress documentation.


Tool | Description |
|---|---|
Label | A textbox that contains user entered text or binds to a field list item |
Checkbox | A simple checkbox that can be on or off |
Rich Text | A rich text area that can contain custom formatting. |
Picture Box | Use this to display your company logo or other graphics |
Panel | Group controls together. When you move the panel, all the controls inside move with it |
Table | Tables consist of rows and cells of information, much like Microsoft Excel. They are best for displaying tabular data. |
Line | Typically for styling, use lines to visually separate sections of your invoice |
Shape | Typically for styling, draw shapes in your report |
Page Info | Display information like current page number |
Page Break | Insert a page break |
...
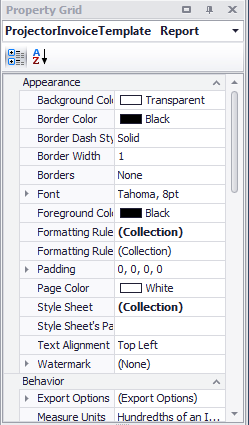
Once you have added a control to the template editor window you can use the property manager to specify additional settings like appearance, positioning, behavior and data bindings.

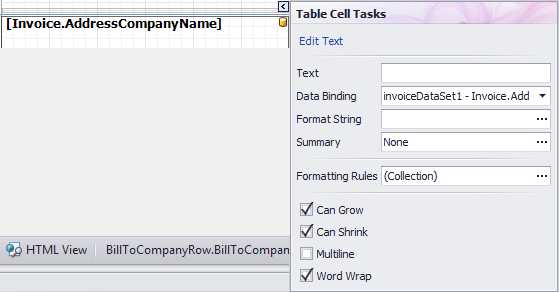
In addition you should become familiar with the properties quick list. When you click on a control the 
 icon will appear. You can then click on it to gain access to frequently used property settings.

The following controls are the ones you will most likely use while editing templates.
...
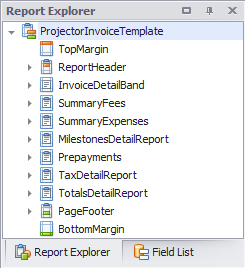
As you add bands and controls to your template they will automatically be added to the Report Explorer. Use the report explorer to quickly navigate the hierarchy of your report and change settings.

Grouping and Sorting Information
Grouping and sorting is how you organize tabular data. For example you may want to group your time cards by project and then sort them by date. A group is the same as a sort, except that a group includes a header or a footer. Groups are also how you will create subtotals.


Previewing your template
At the bottom of the design window you will find the Designer and Preview buttons. It is useful to toggle between these as you develop your invoice. You will see the preview rendered using your actual invoice data, making it much easier to see how design changes are reflected in a real invoice.


Additional Notes
...